
Using the Resume Builder and Resume Optimizer
The Resume Builder and Resume Optimizer help you create polished, AI-enhanced resumes for your clients. You can configure global resume guidelines, optimize client resumes using AI, customize layouts and sections, and generate job-specific versions that boost application success.
Before you begin: Client resumes are automatically imported from LinkedIn or uploaded resume files. Ensure your clients have connected their profiles or uploaded their resumes before optimizing.
Setting Up Your Resume Guidelines
Start by configuring your global resume optimization settings. These settings will apply to all client resumes you optimize.
Navigate to Settings > Resume
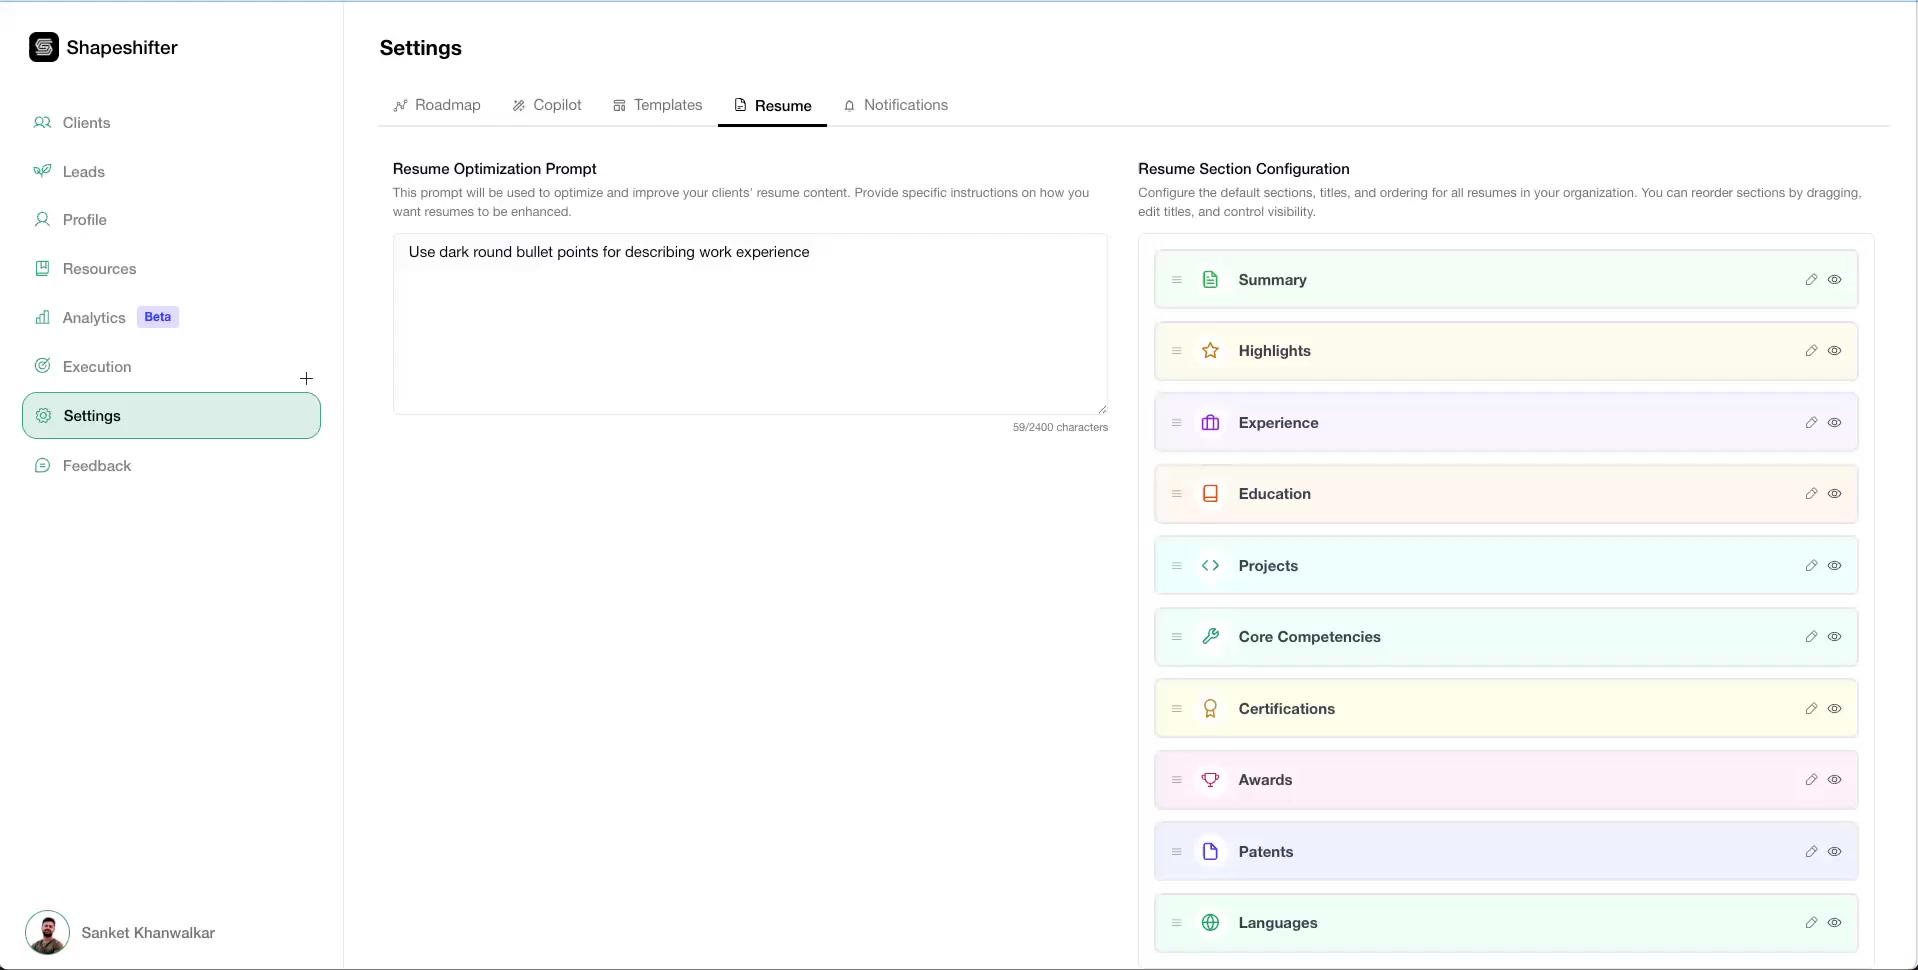
1. Configure Your Resume Optimization Prompt
In the "Resume Optimization Prompt" field, enter your custom guidelines for how AI should format and structure resumes. For example:
"Use dark round bullet points for describing work experience"
"Keep all descriptions under 2 sentences"
"Focus on quantifiable achievements"
These prompts ensure all optimized resumes follow your coaching program's specific style and standards.
2. Arrange Resume Sections
In the "Resume Section Configuration" area, drag sections to reorder them or add/remove sections based on your preferences.
Available sections include:
Summary
Highlights
Experience
Education
Projects
Core Competencies
Certifications
Awards
Patents
Languages
Click Save Changes when you're done configuring.
Optimizing a Client Resume
Once your global settings are configured, you can optimize individual client resumes.
1. Navigate to the Client's Resume
Select your client (e.g., Chris Phelps) from the Clients list, then click the Resume tab in the left sidebar.
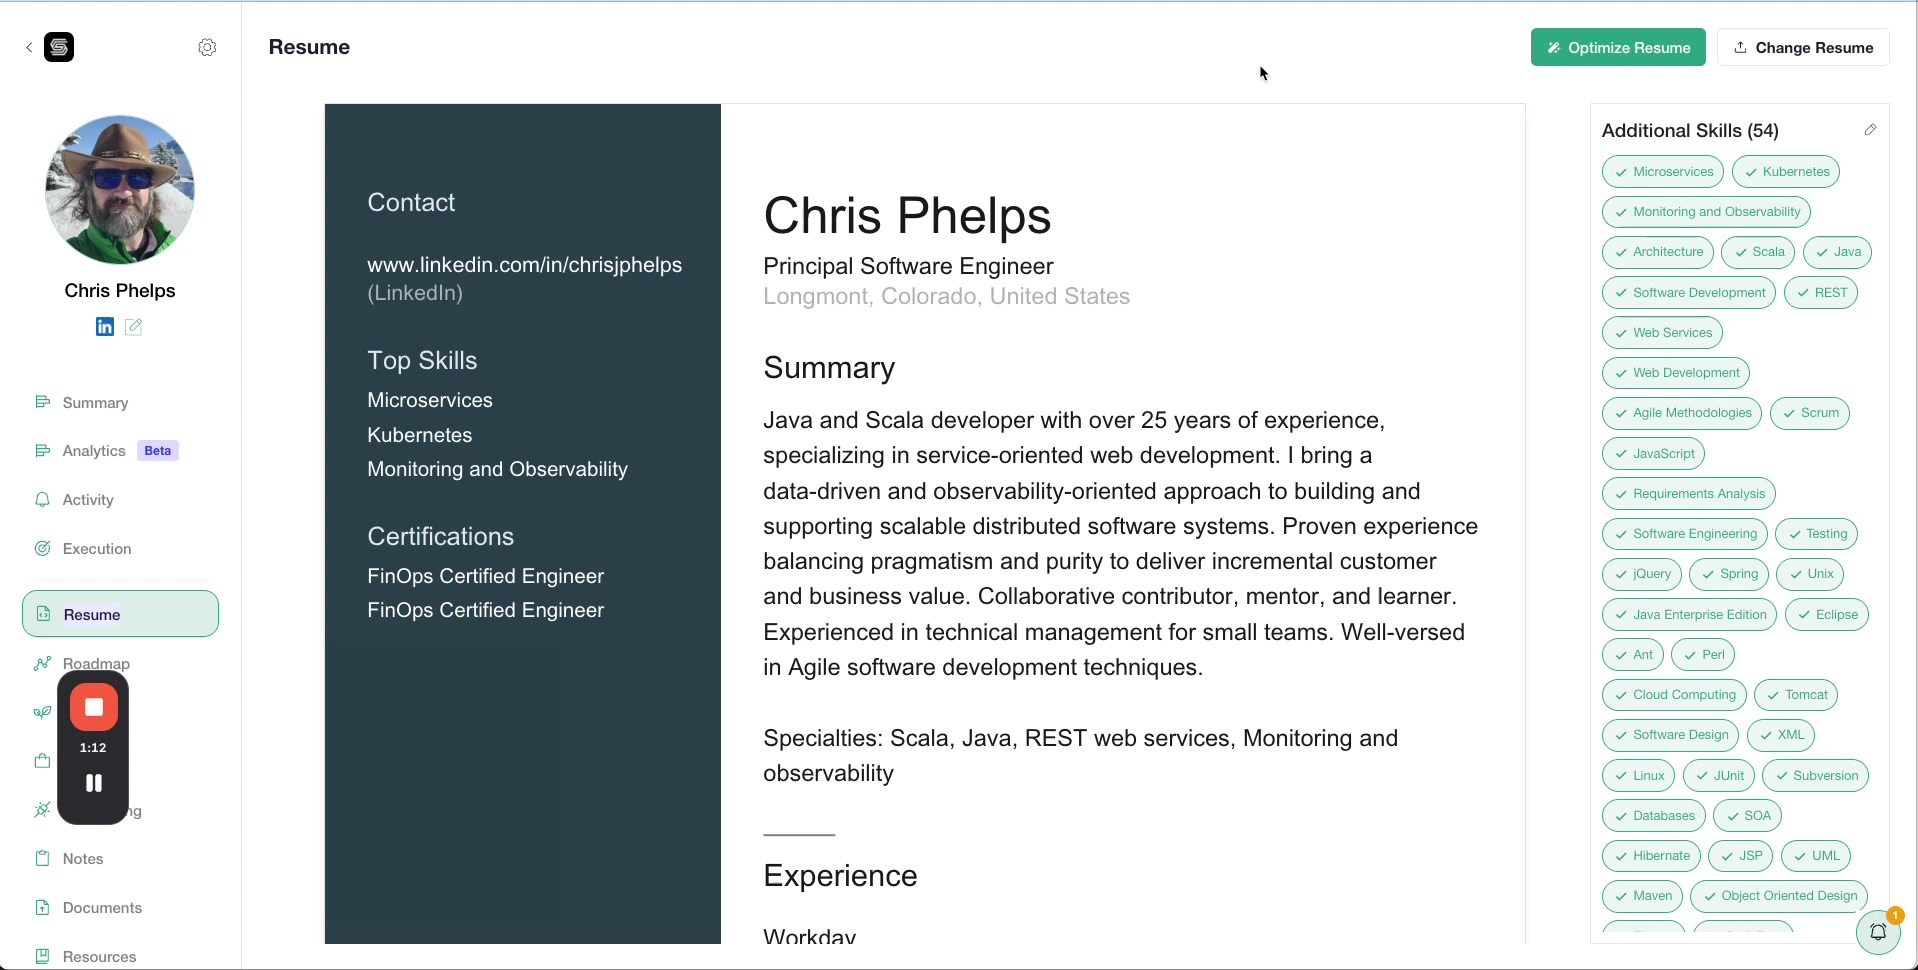
You'll see the imported resume content, including skills pulled from LinkedIn or their uploaded resume. The skills section shows all available skills with checkboxes for easy selection.
2. Run the Optimization
Click the Optimize Resume button in the top-right corner of the resume view.
General resume optimization takes 1-2 minutes to complete. The system is continuously improving to reduce this time.
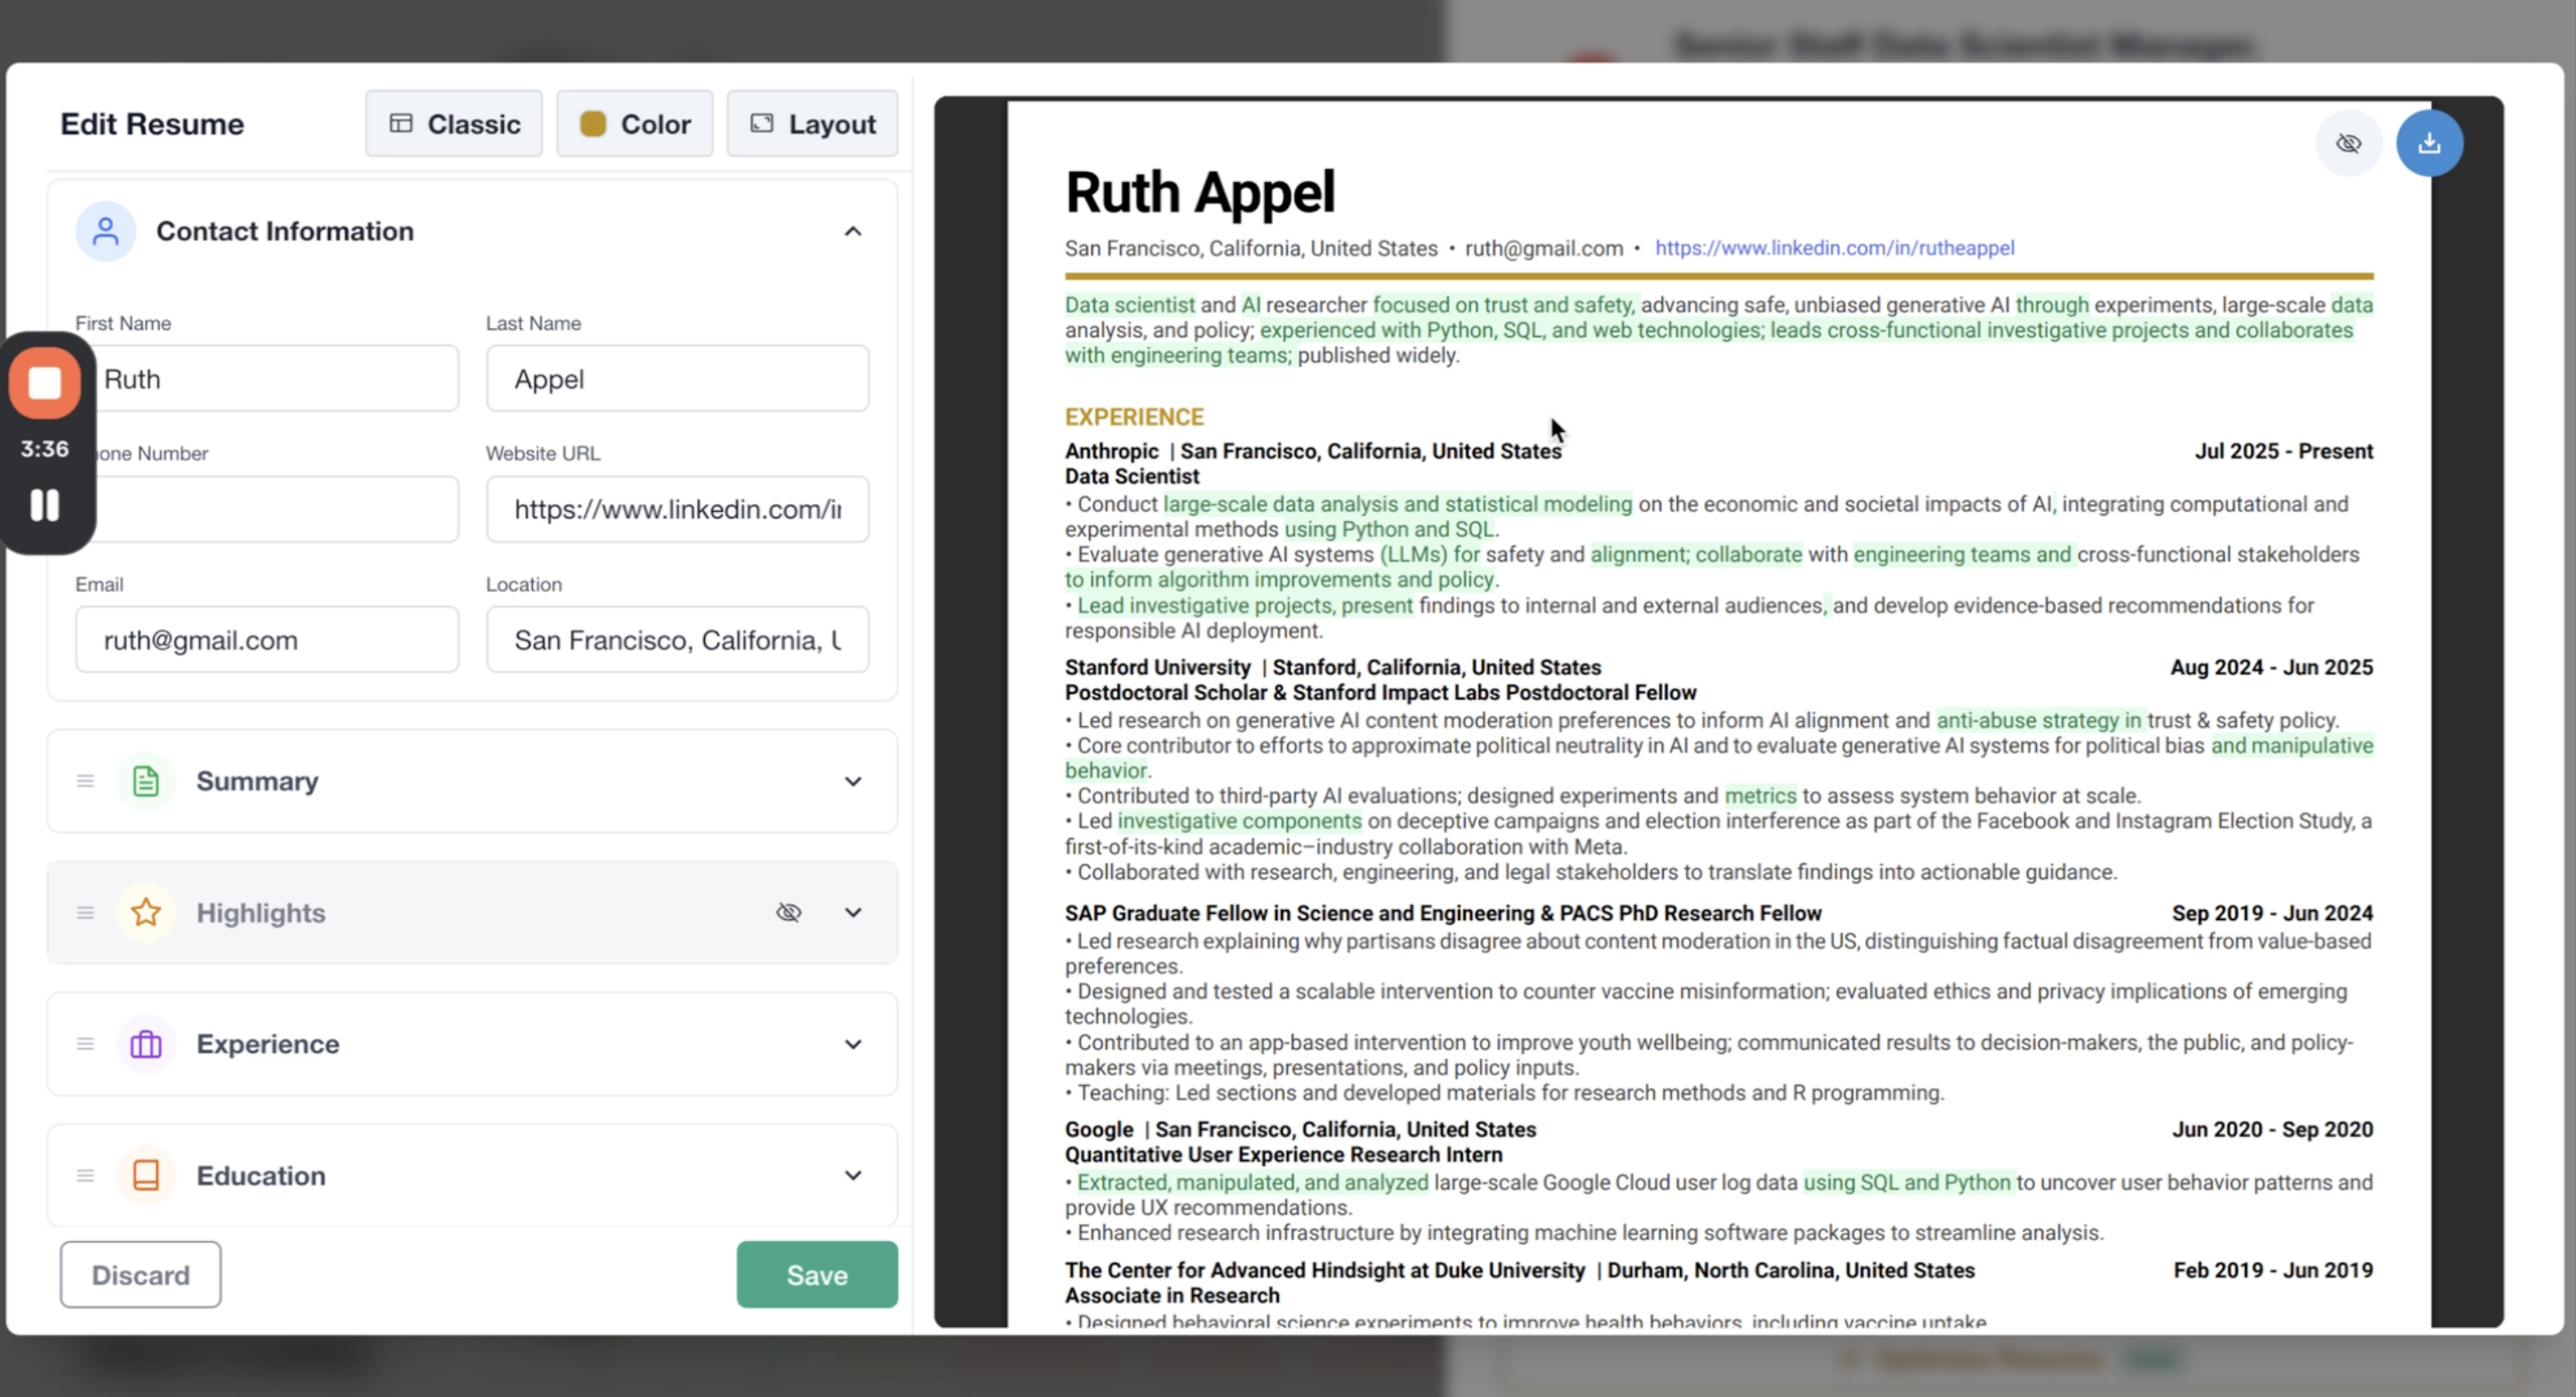
3. Review AI Changes
After optimization completes, you'll see green highlights indicating where AI has made improvements to the resume content.
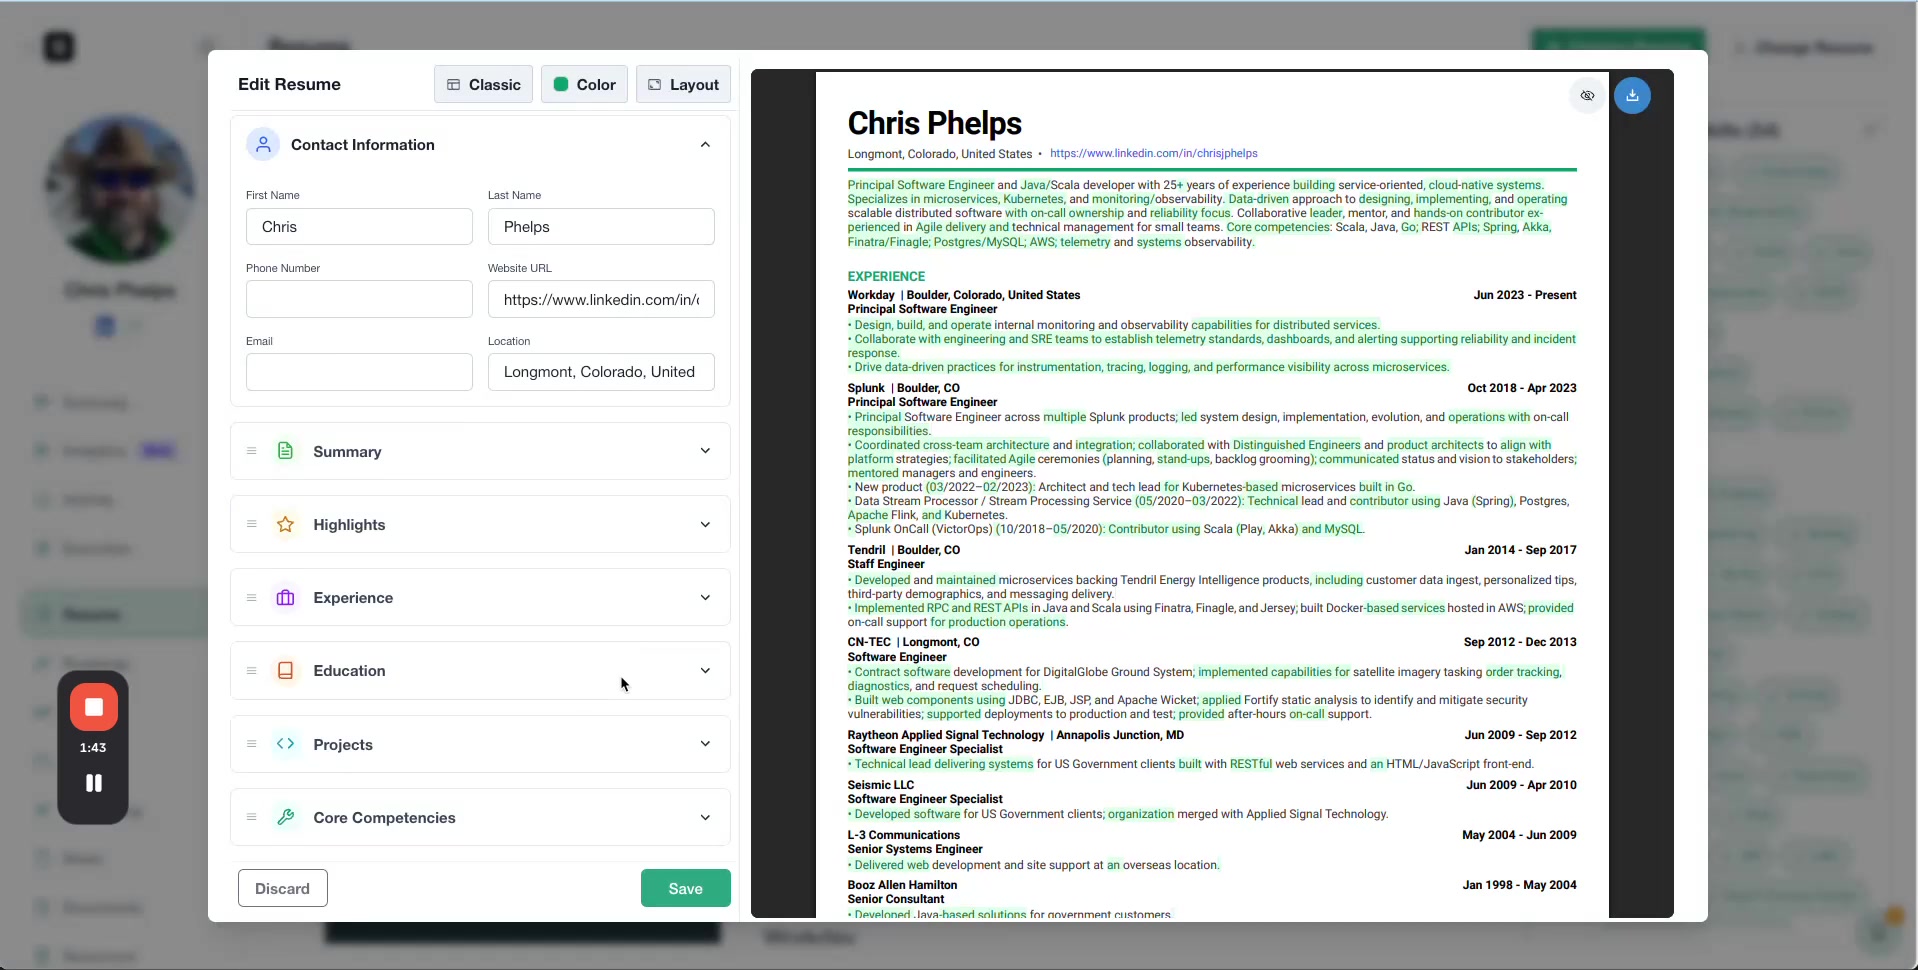
Review the changes carefully to ensure they align with your client's background and goals. Click Save to accept the optimized version.
Customizing Resume Design
After optimization, you can customize the resume's visual appearance and layout.
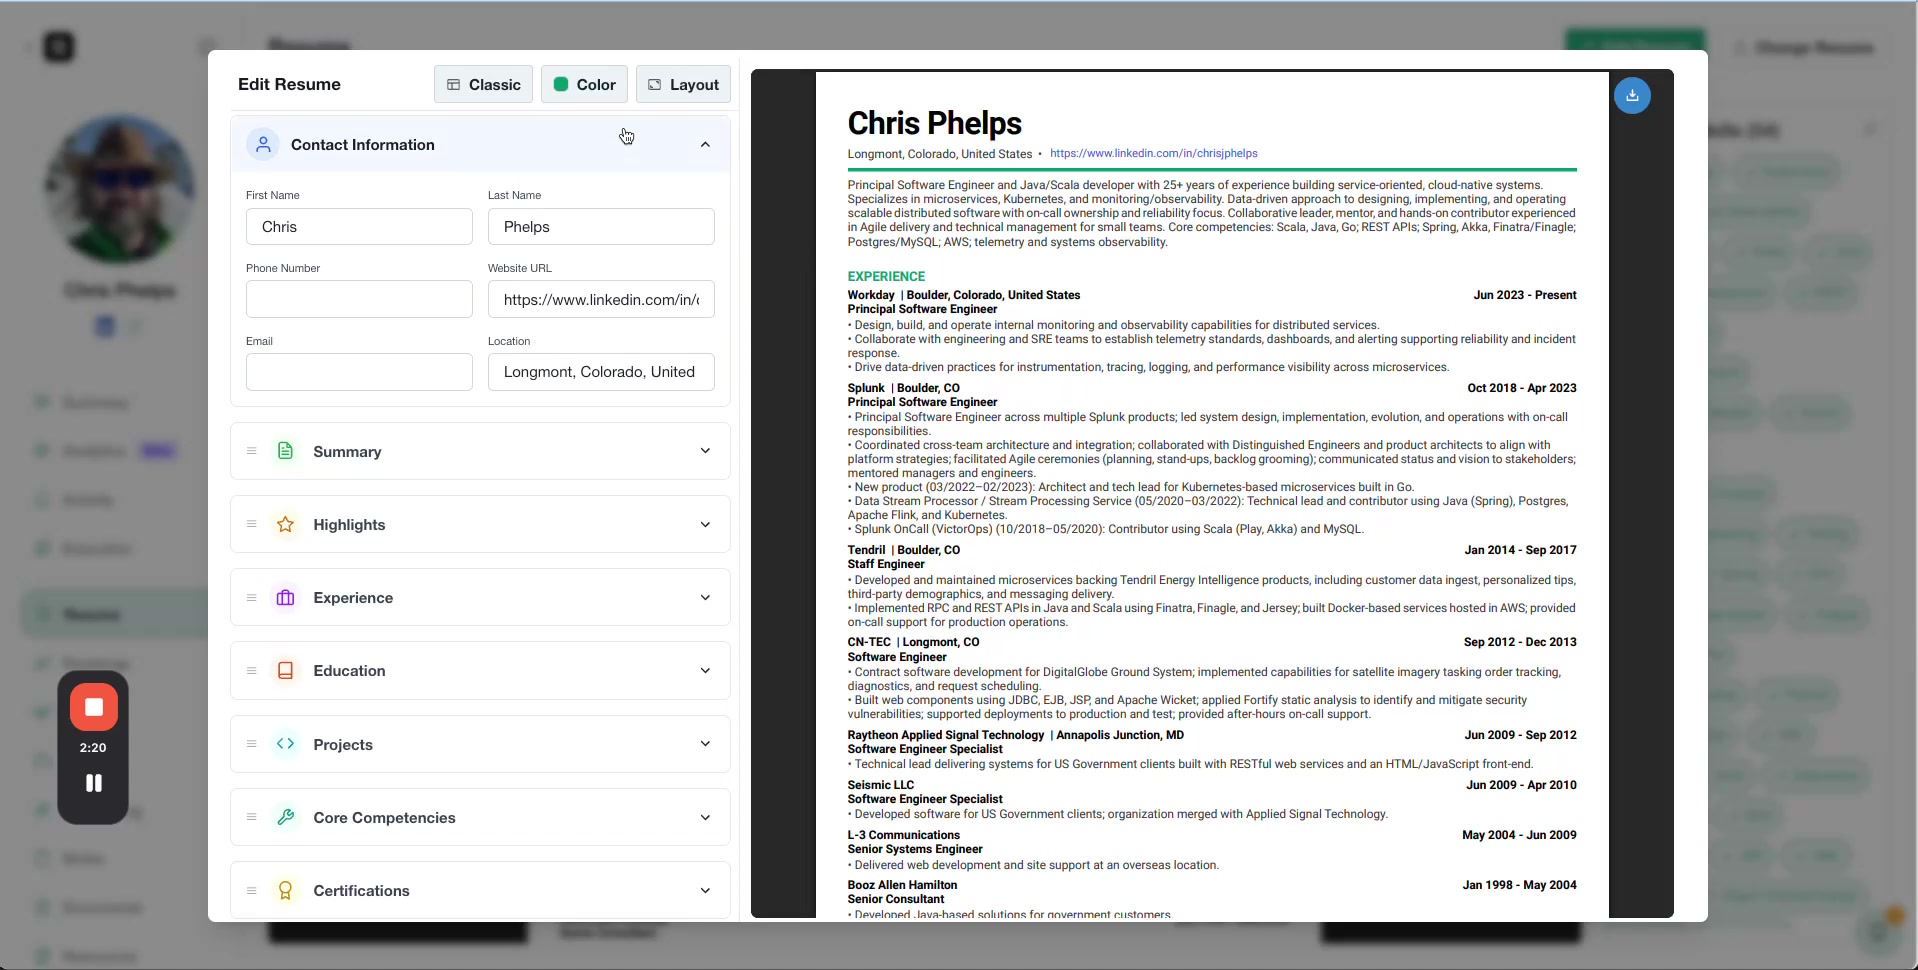
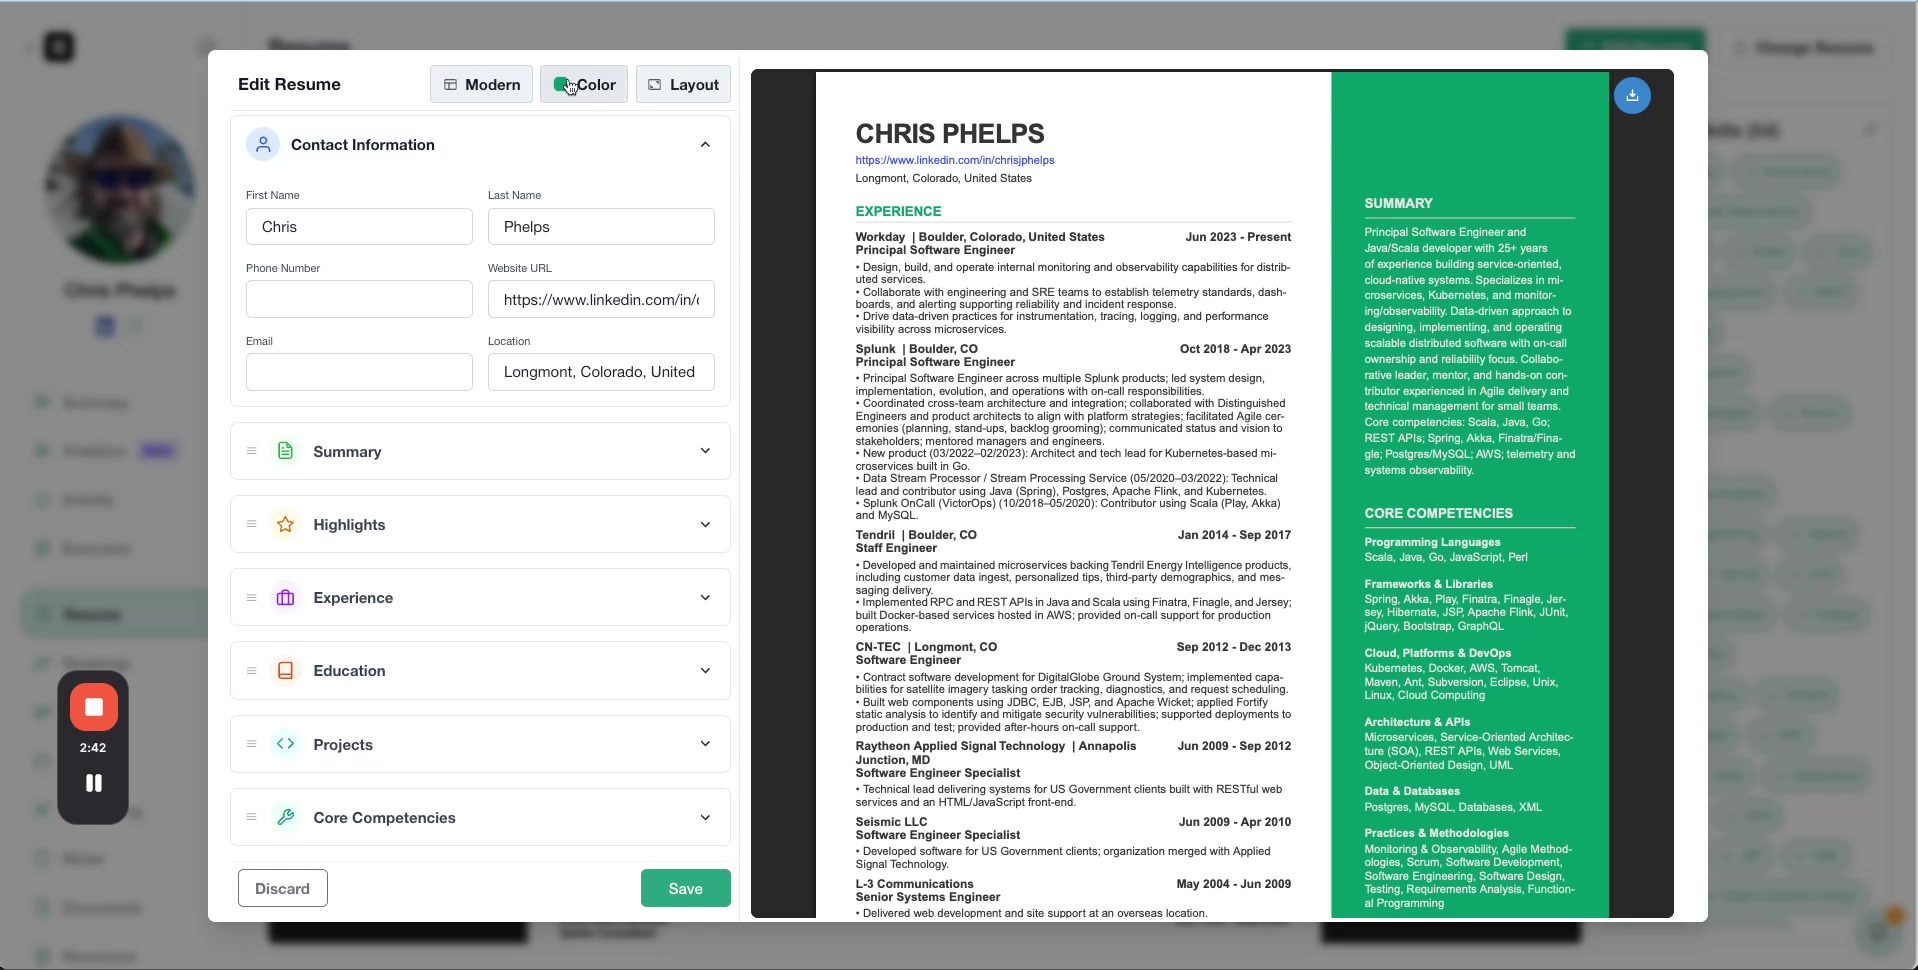
Choose a Template
Select between Classic and Modern templates to match your client's industry and personal brand.
Need a different template style? You can request additional templates from the Shapeshifter team.
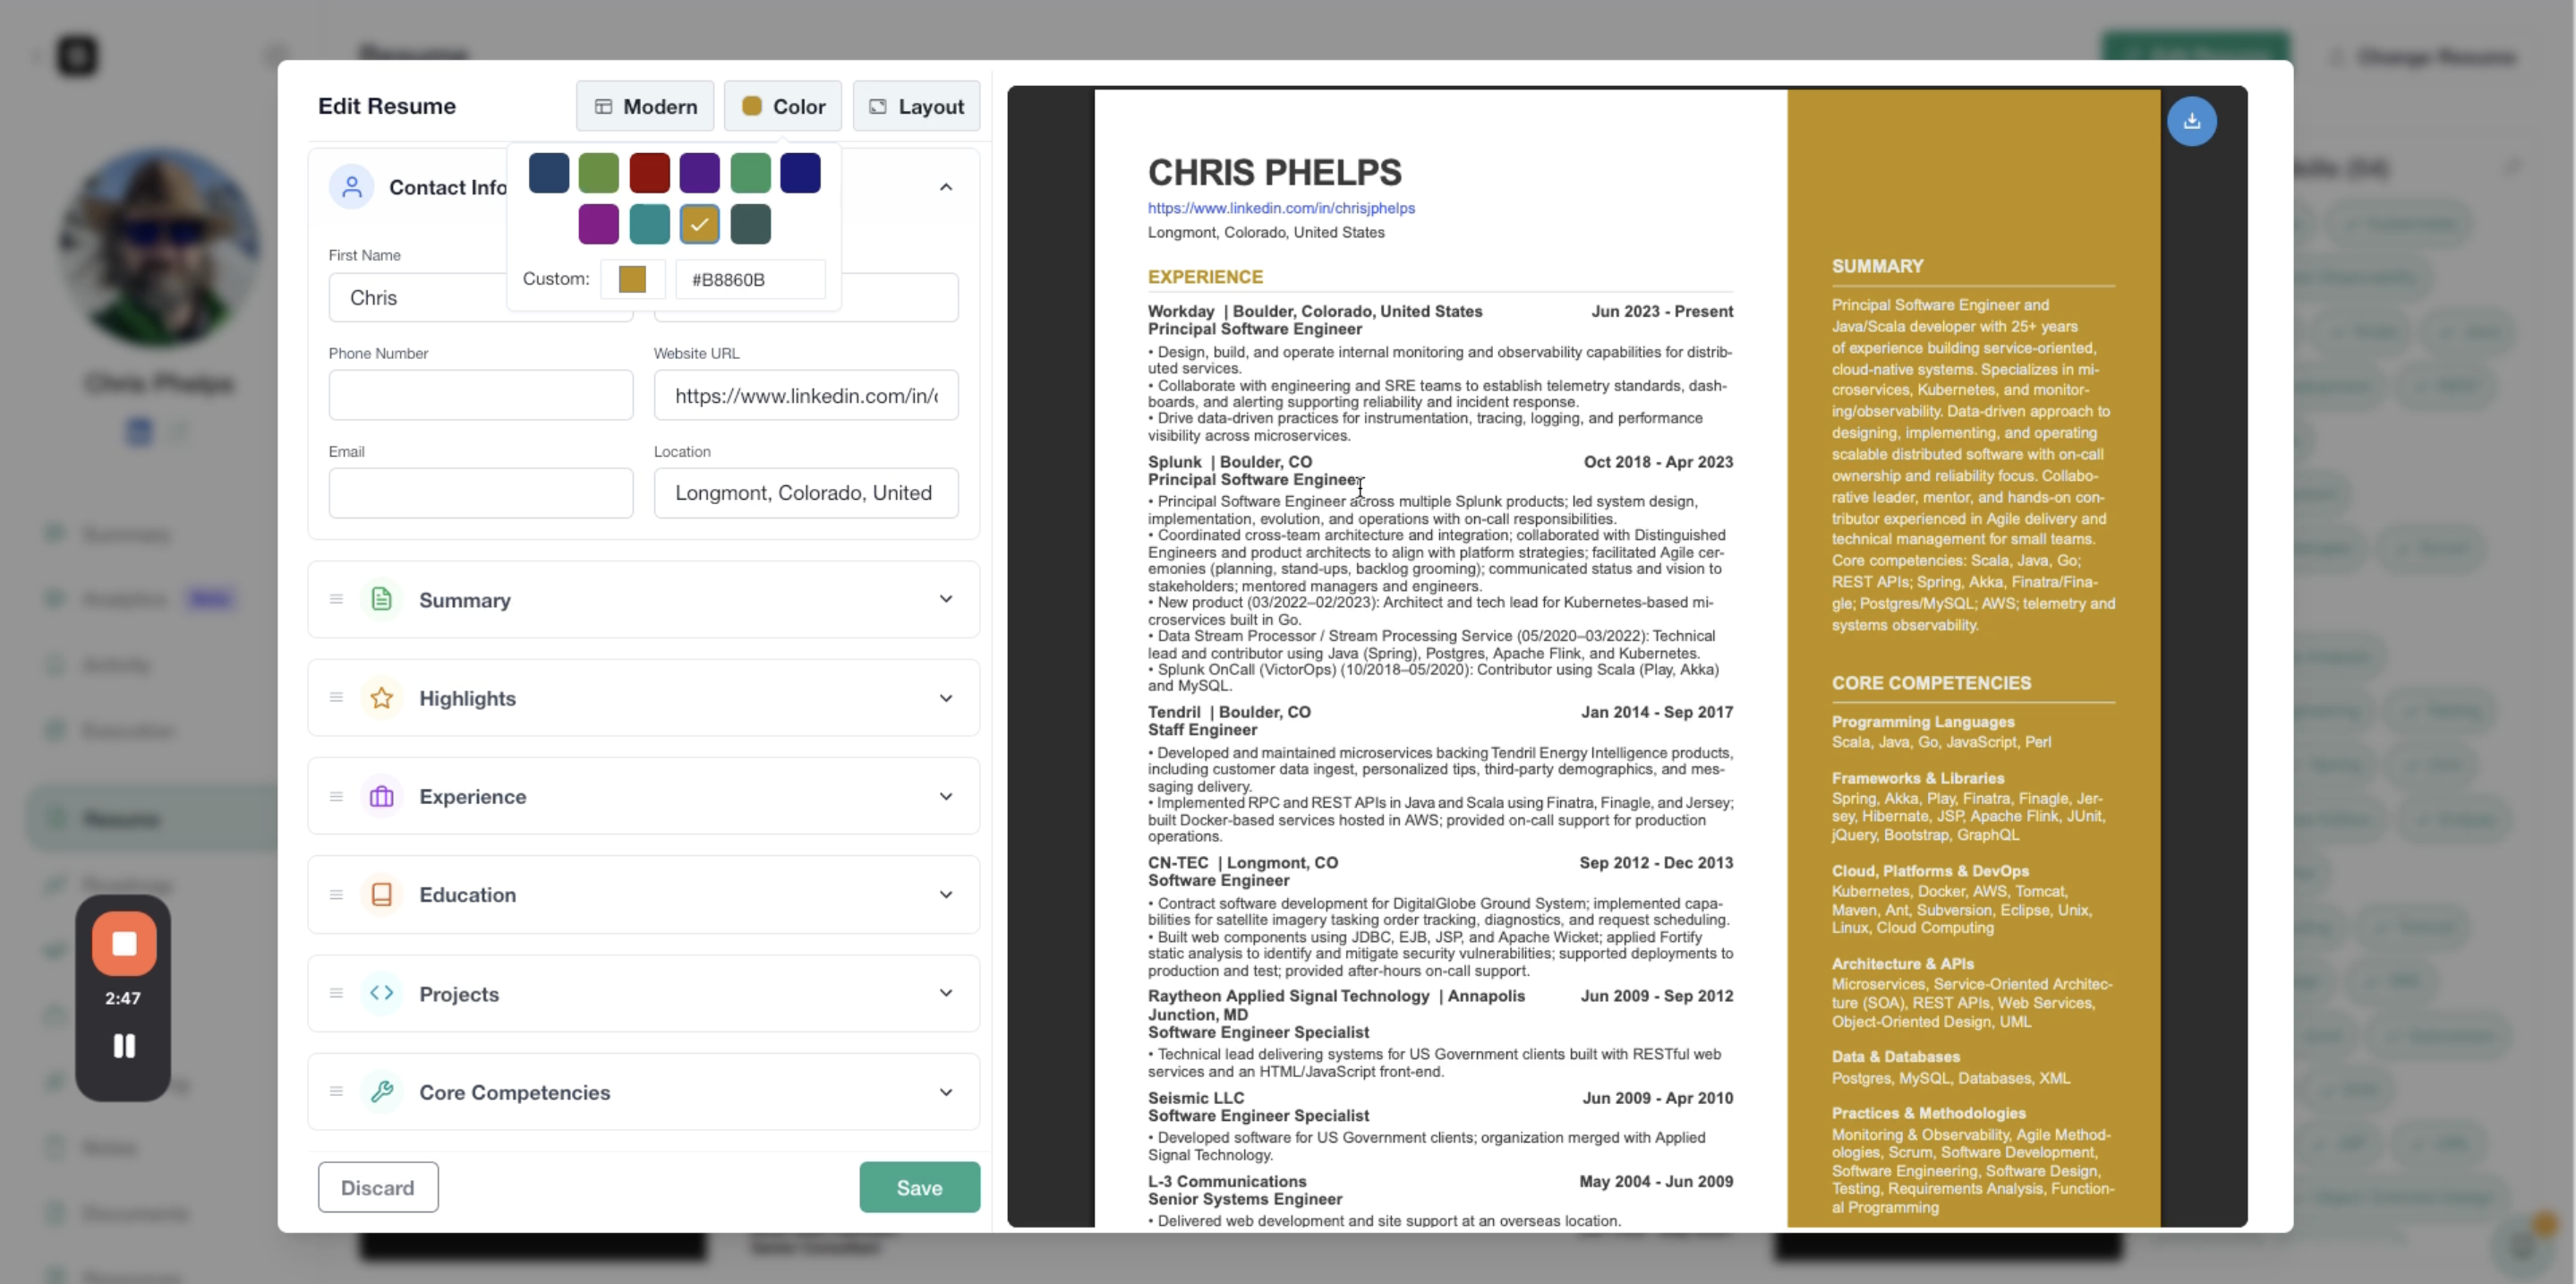
Customize Colors
Click the Color tab to select a color palette that matches your client's branding or industry standards.
Adjust Layout Margins
Click the Layout tab to fine-tune spacing. You can adjust Top, Left, Bottom, and Right margins to control white space and fit more or less content on the page.
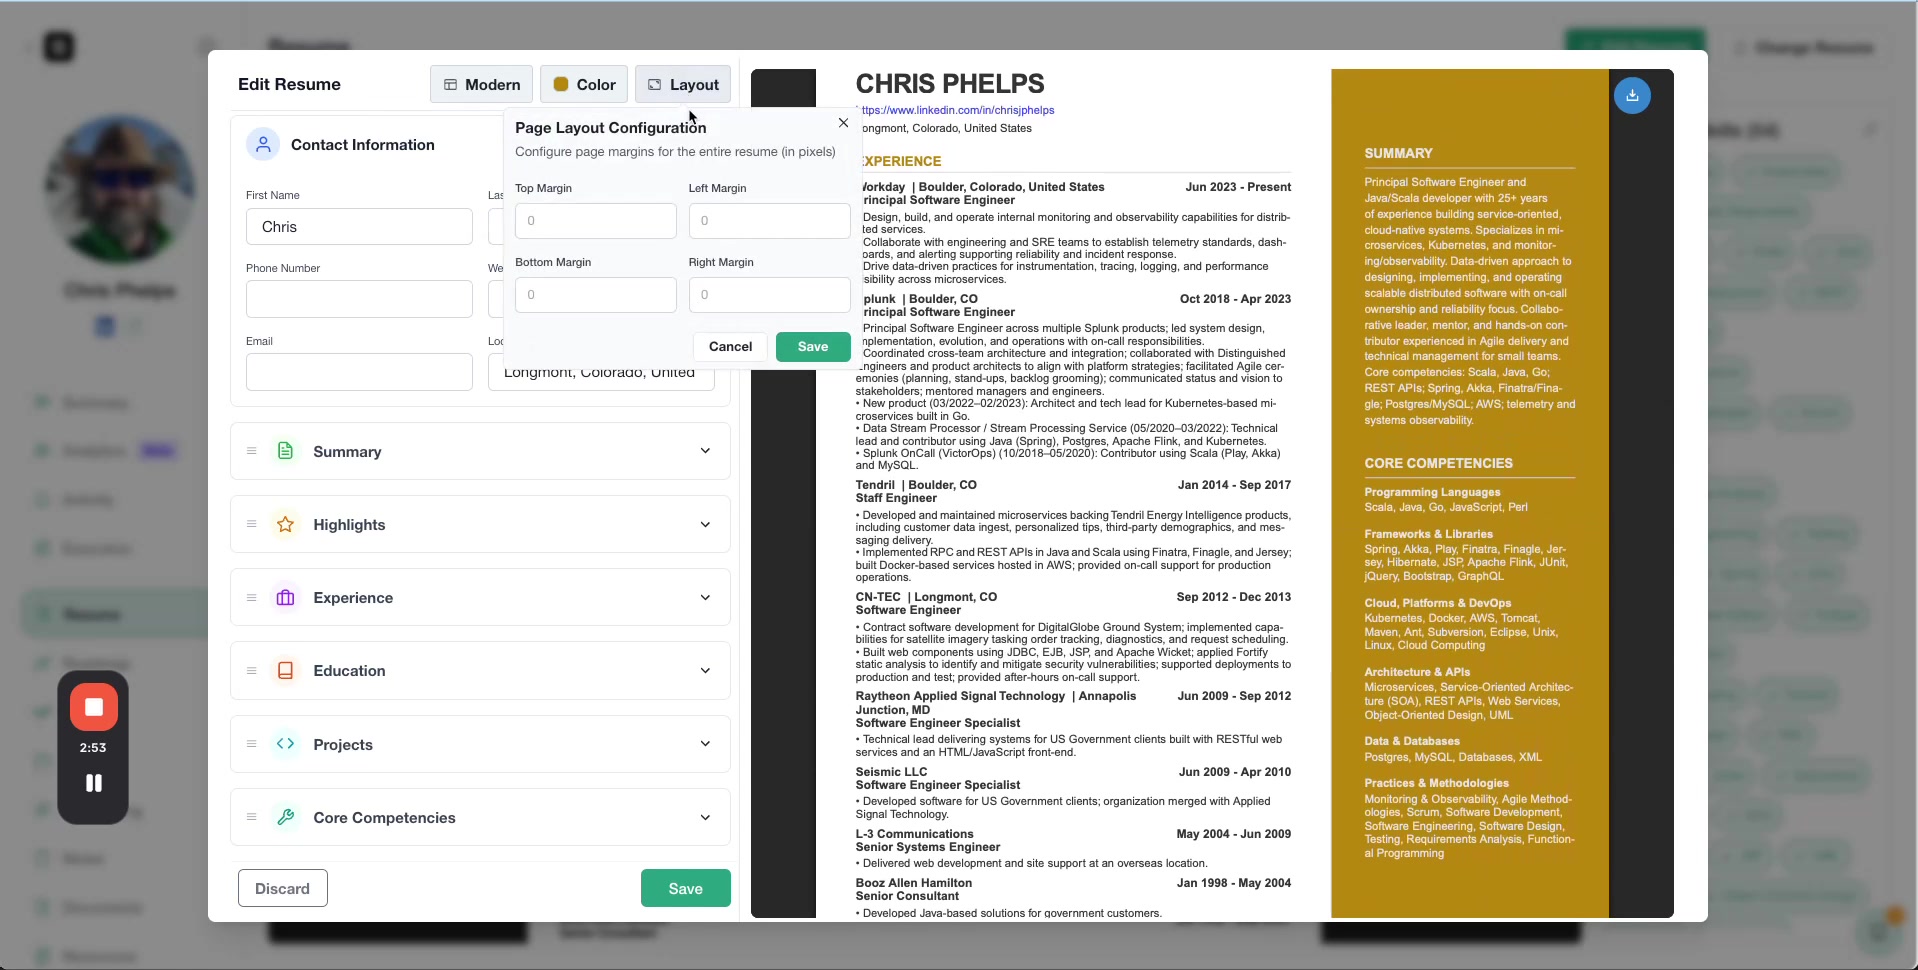
For example, set Top margin to 10 and Left margin to 20 for a balanced, professional look.
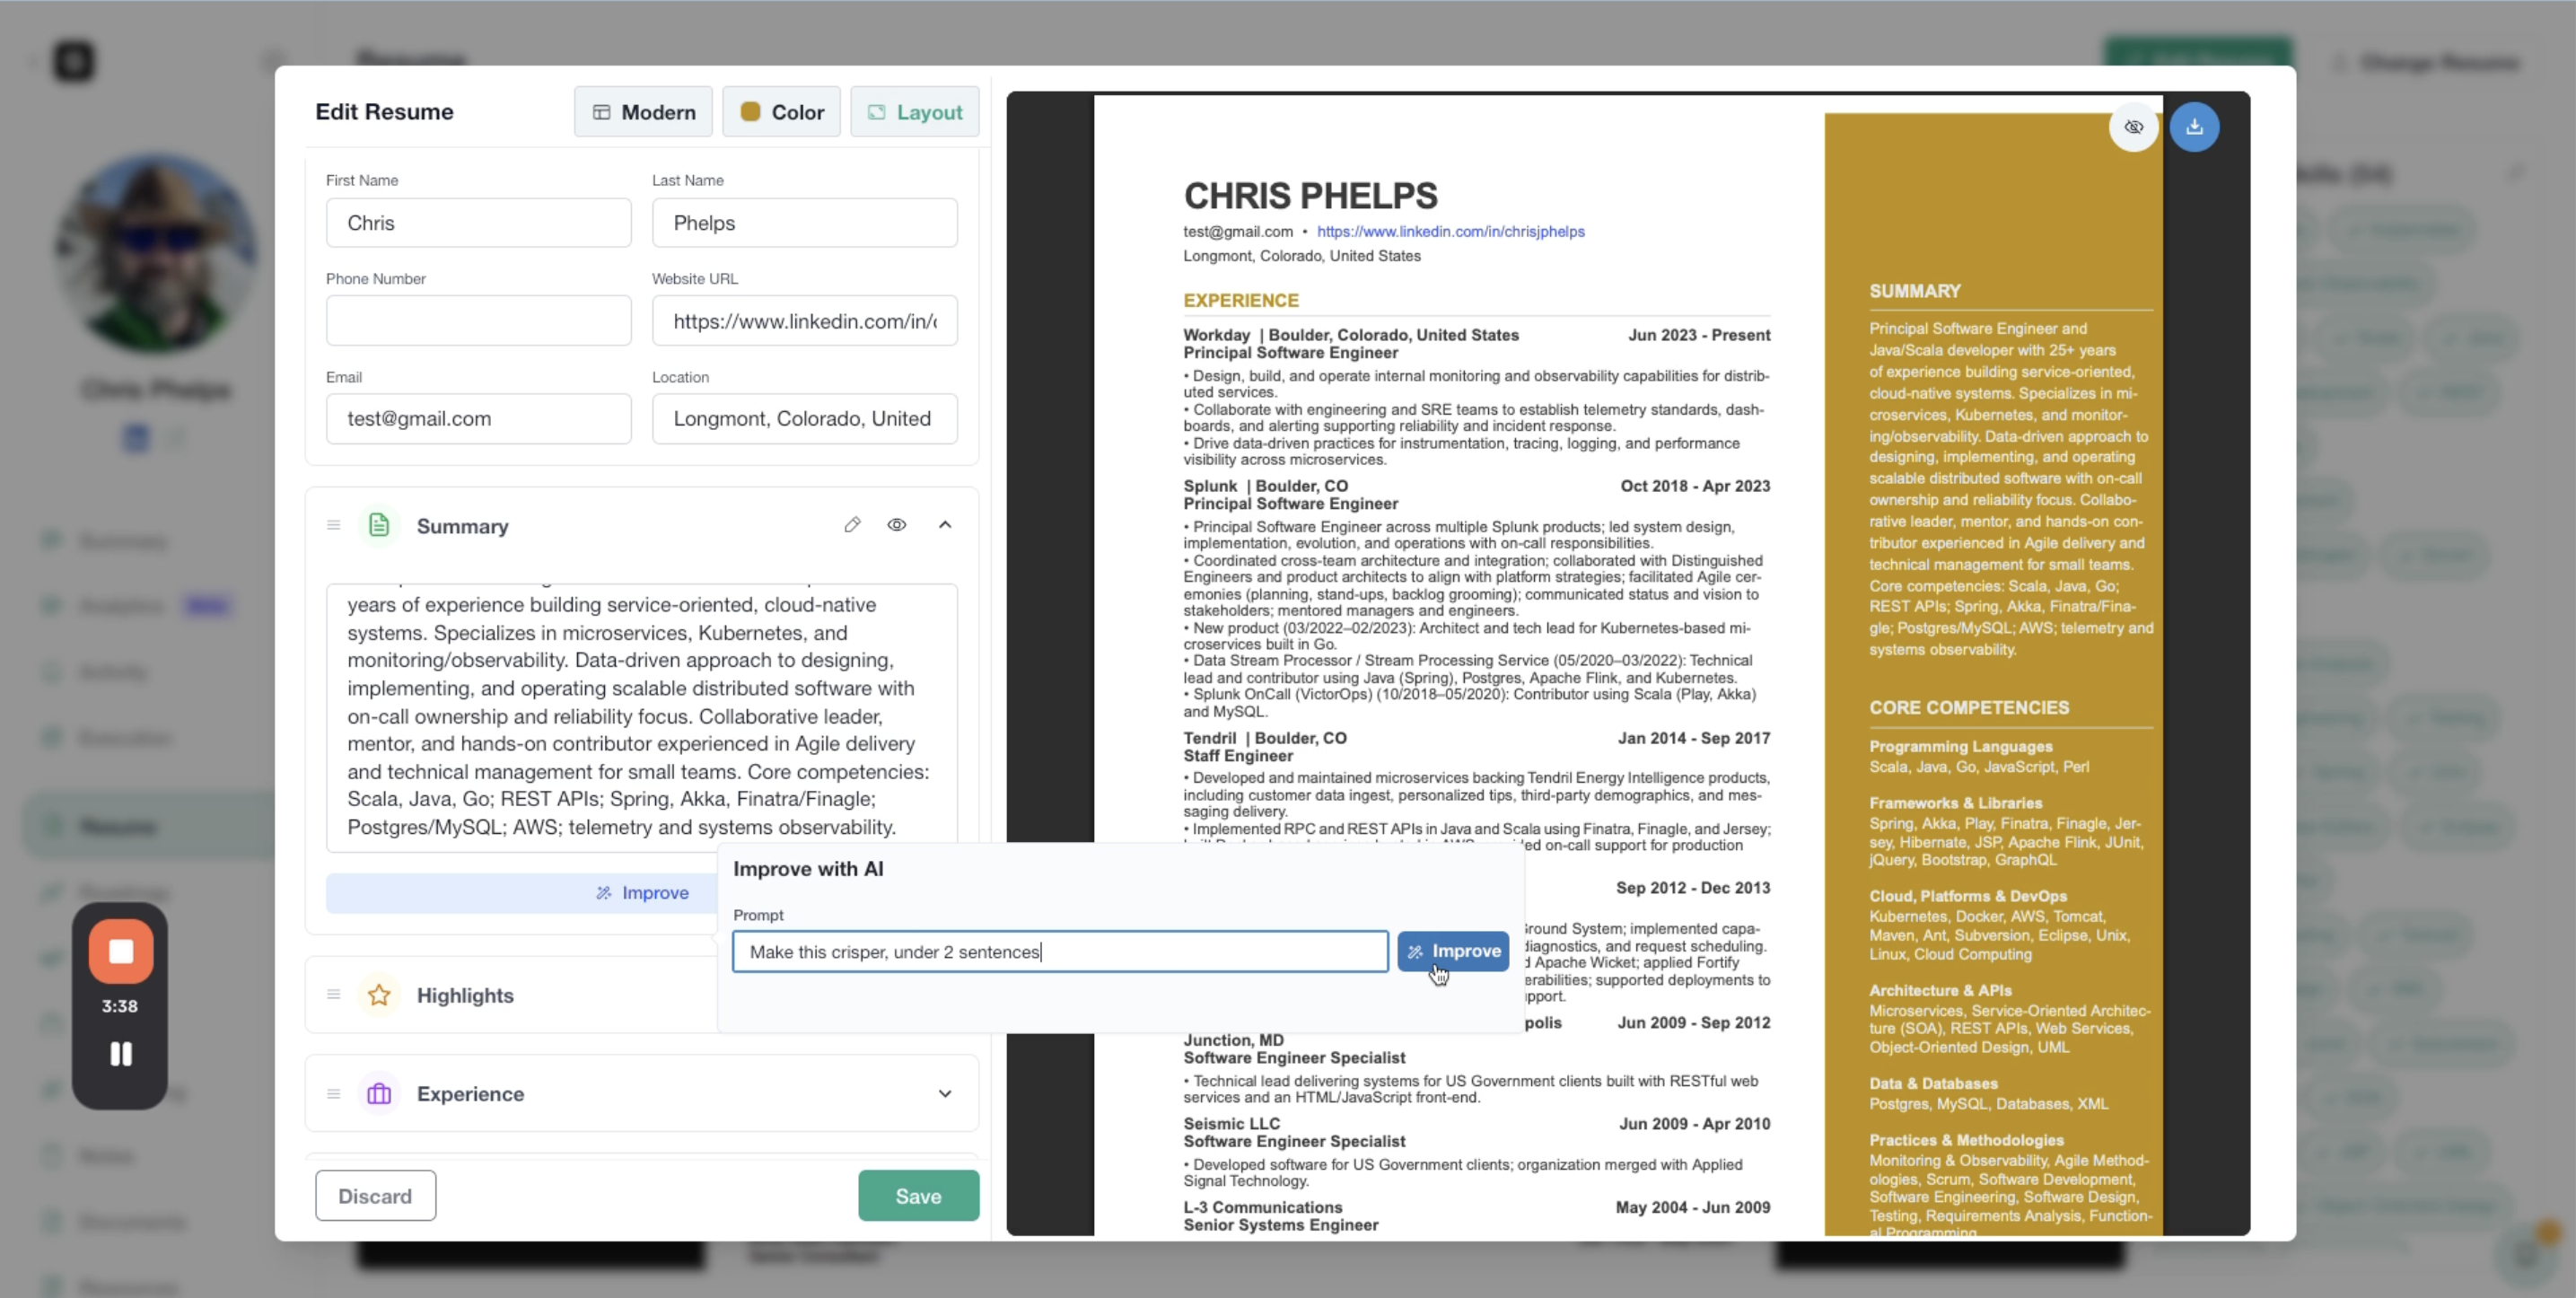
Using AI to Improve Specific Sections
Beyond the global optimization, you can use AI to refine individual resume sections with custom prompts.
1. Expand the Section
Click on any section (e.g., Summary, Experience) in the left editing panel to expand it.
2. Click "Improve"
You'll see an Improve button for that section. Click it to open the AI prompt input.
3. Enter Your Prompt
Describe how you want the AI to improve the section. For example:
"Make this crisper under 2 sentences"
"Add more quantifiable results"
"Rewrite in a more confident tone"
4. Review and Accept Changes
The AI will generate an improved version. You'll see a comparison between the Original and Improved versions.
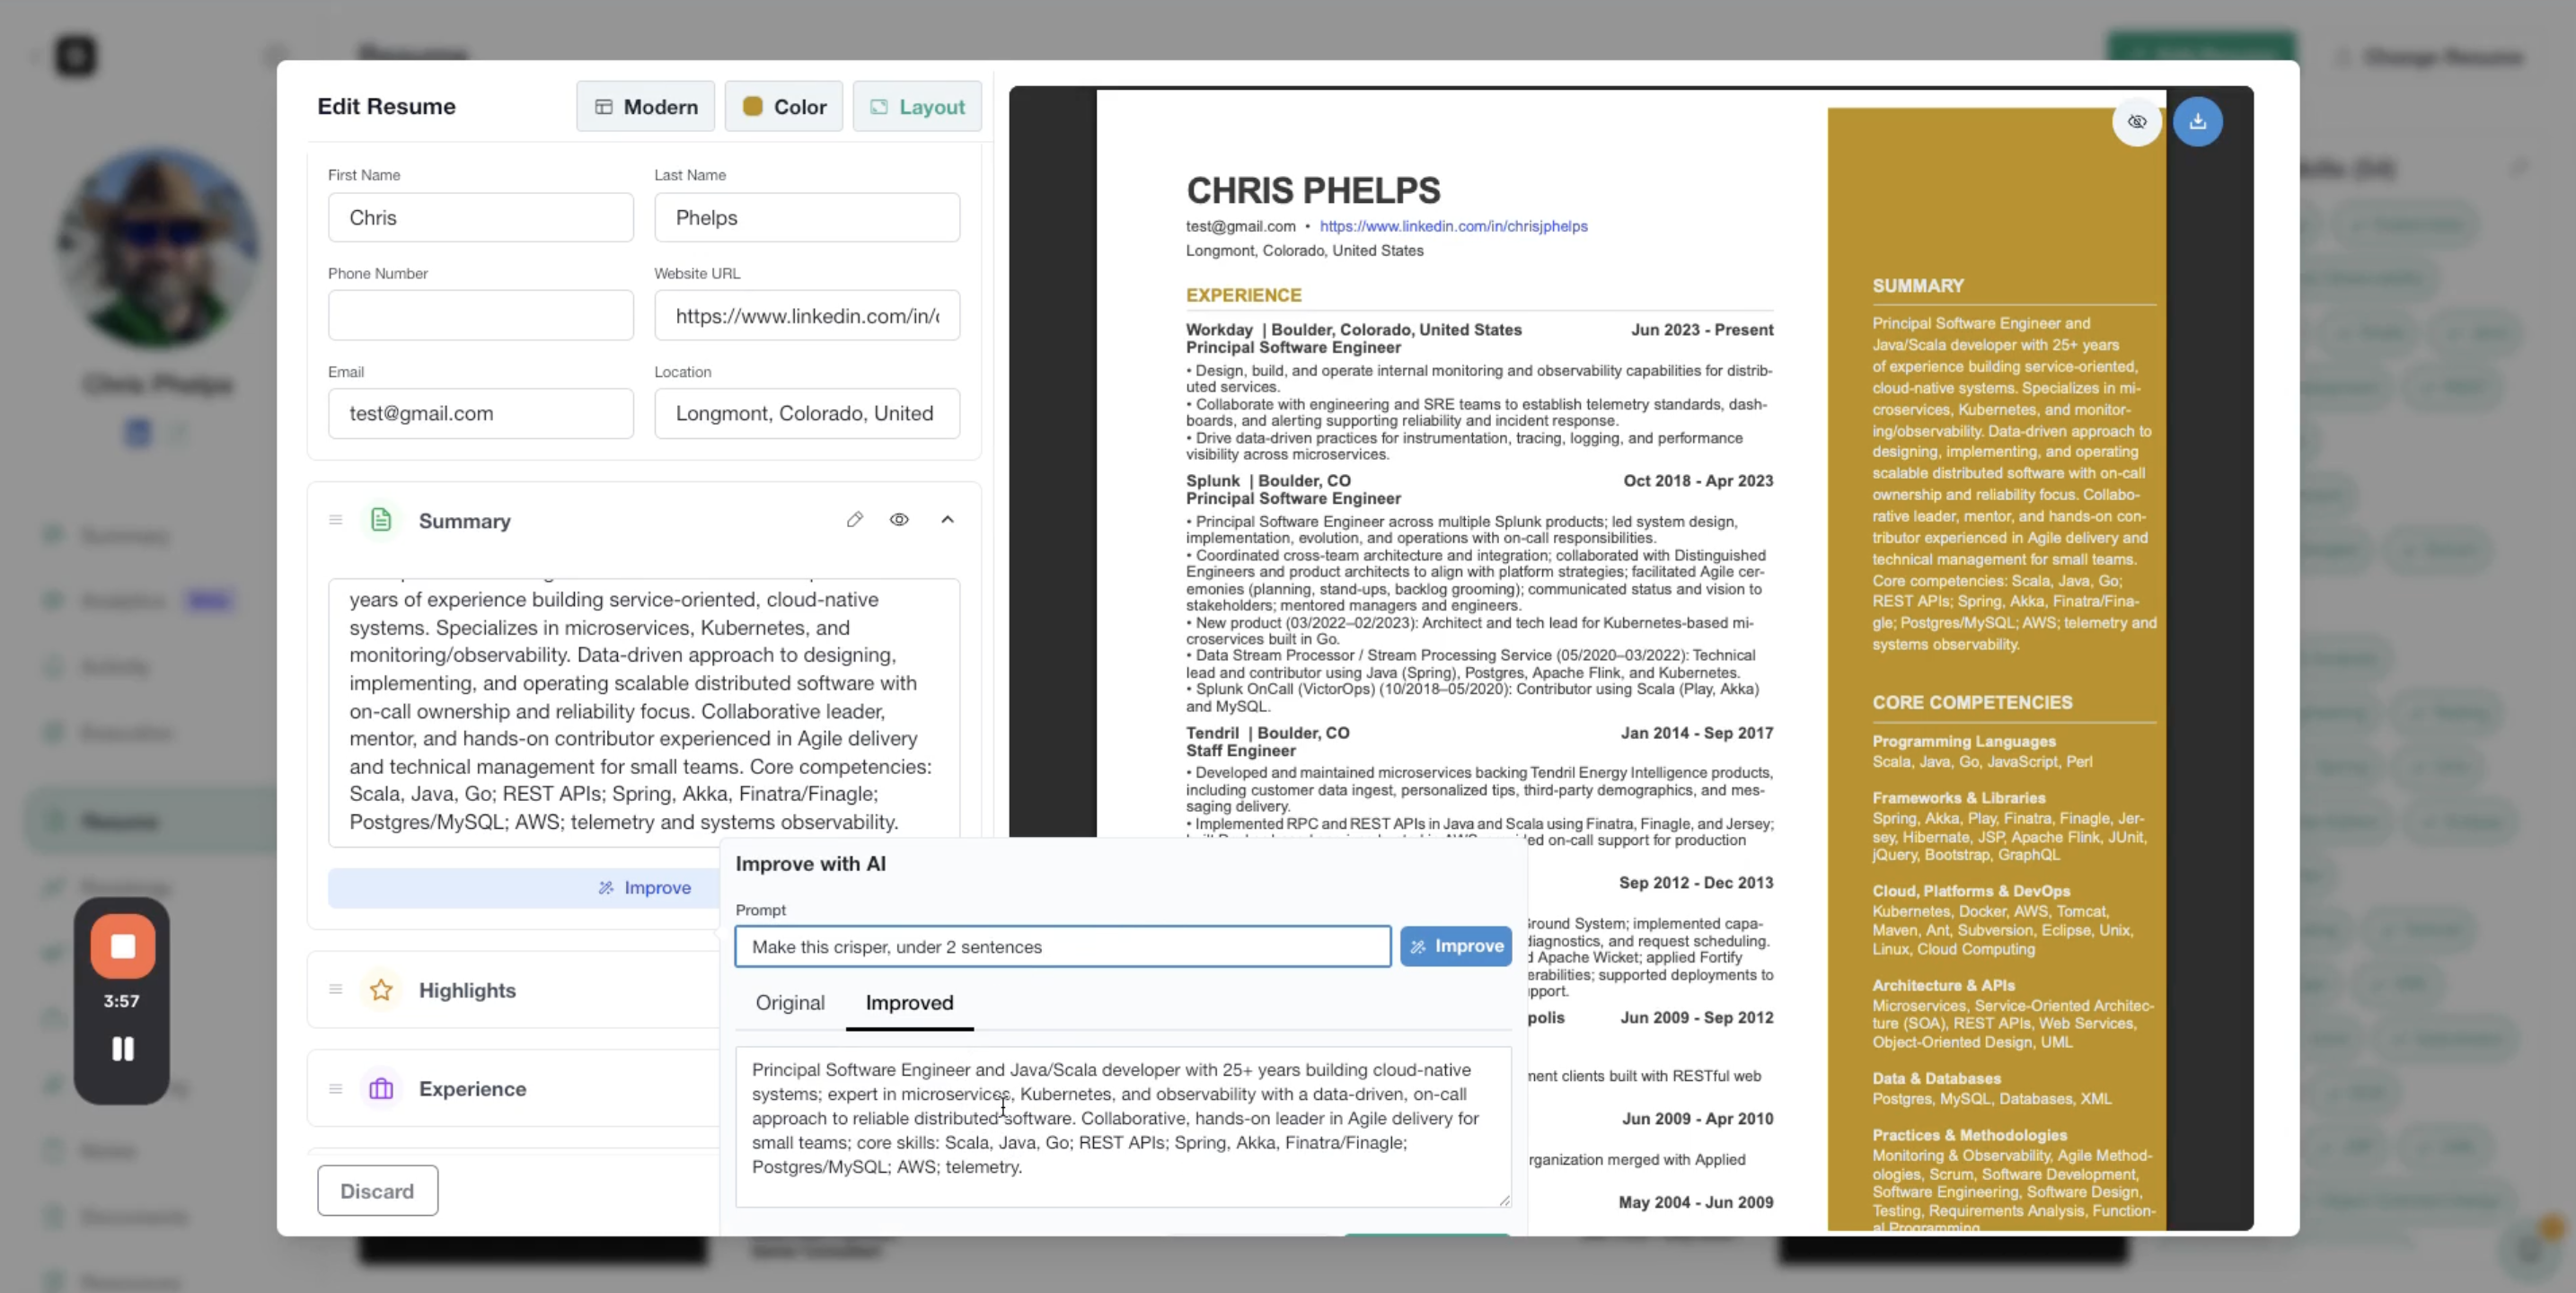
Click Accept Changes to apply the improvement, or reject it to keep the original.
Managing Resume Sections
You have full control over which sections appear and in what order.
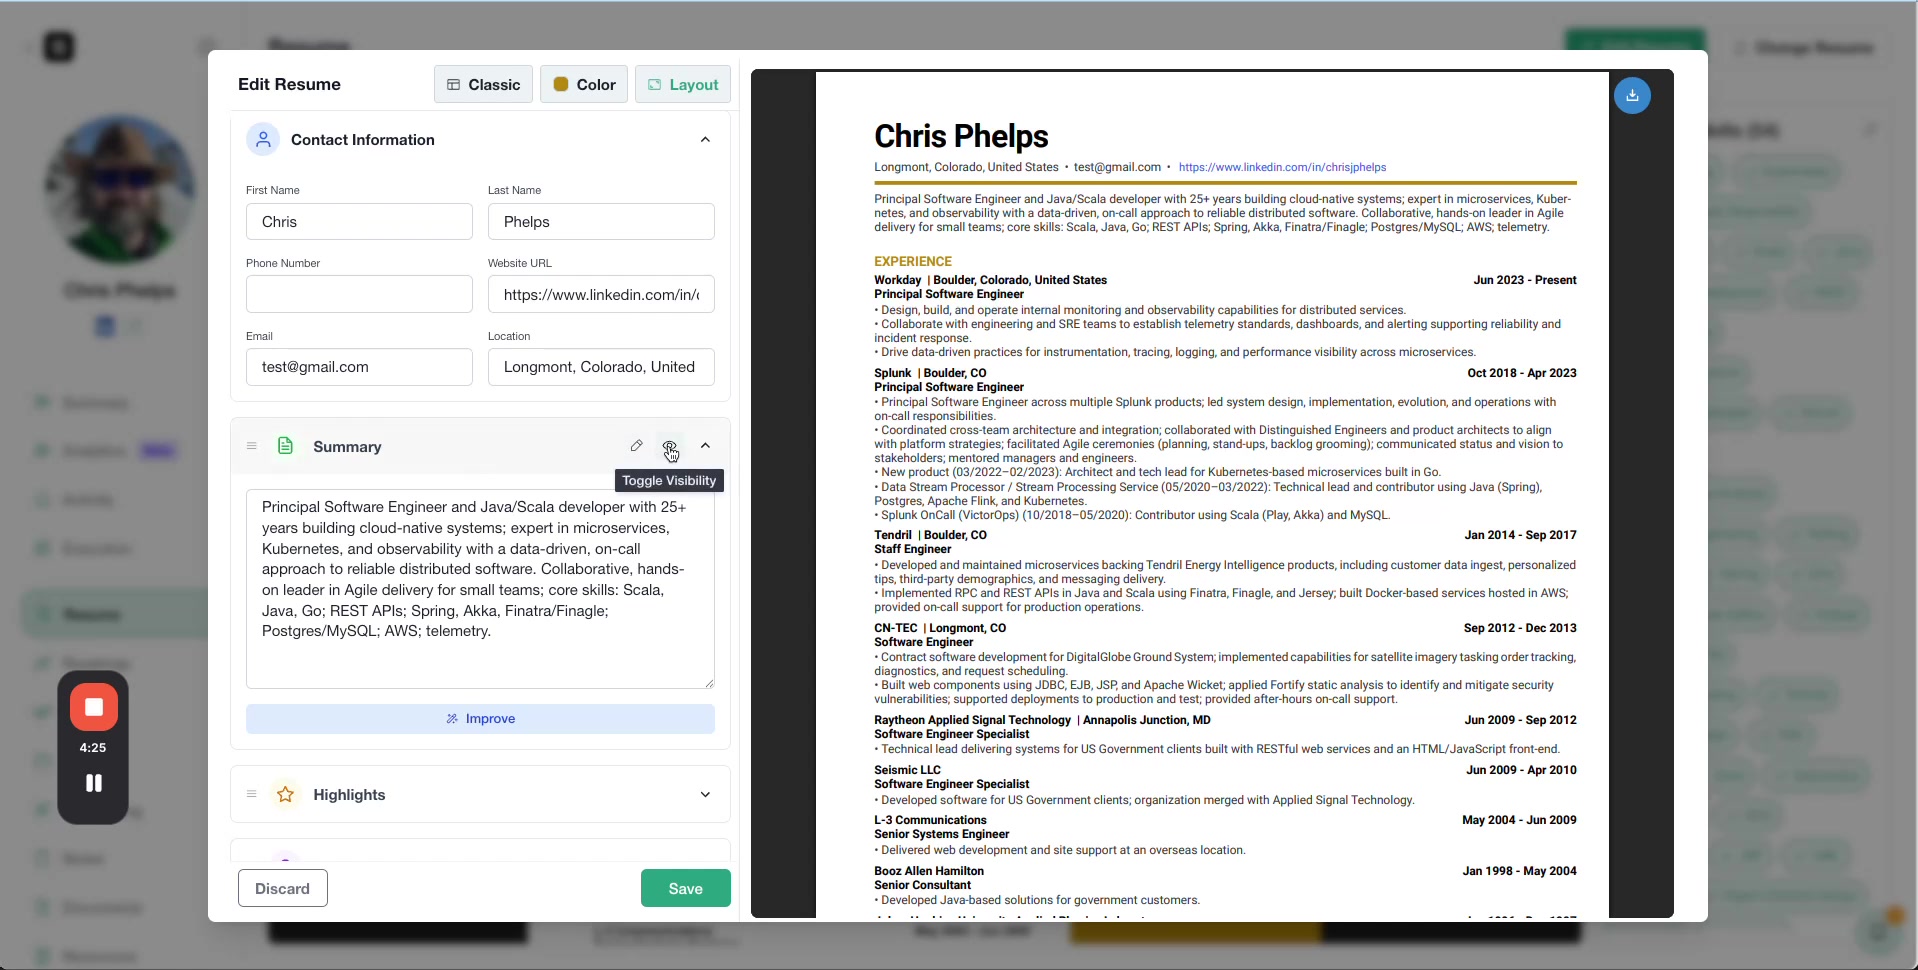
Toggle Section Visibility
Click the eye icon next to any section to show or hide it on the final resume. This is useful if a section like "Summary" isn't recommended for a particular client or industry.
Reorder Sections
Drag sections up or down in the editing panel to change the order they appear on the resume.
Edit Section Content
Click into any field (like Email, Phone, or individual work experiences) to manually edit the content.
Downloading the Resume
Once you're satisfied with the resume, click the Download icon in the top-right corner to export it as a PDF.
Your client can now use this polished, optimized resume for their job applications.
The saved resume becomes the default version used for all future job analysis and optimization in Shapeshifter.
Optimizing Resumes for Specific Jobs
Shapeshifter can also create job-specific resume versions optimized for individual opportunities.
1. Navigate to the Job
Go to the Jobs section and select the specific job you want to optimize the resume for.
2. Open the Analysis Tab
Click the Analysis tab to view the compatibility score and qualifications breakdown.
3. Click "Optimize Resume"
This job-specific optimization takes approximately 30 seconds and tailors the resume content to match the job description, increasing compatibility and interview chances.
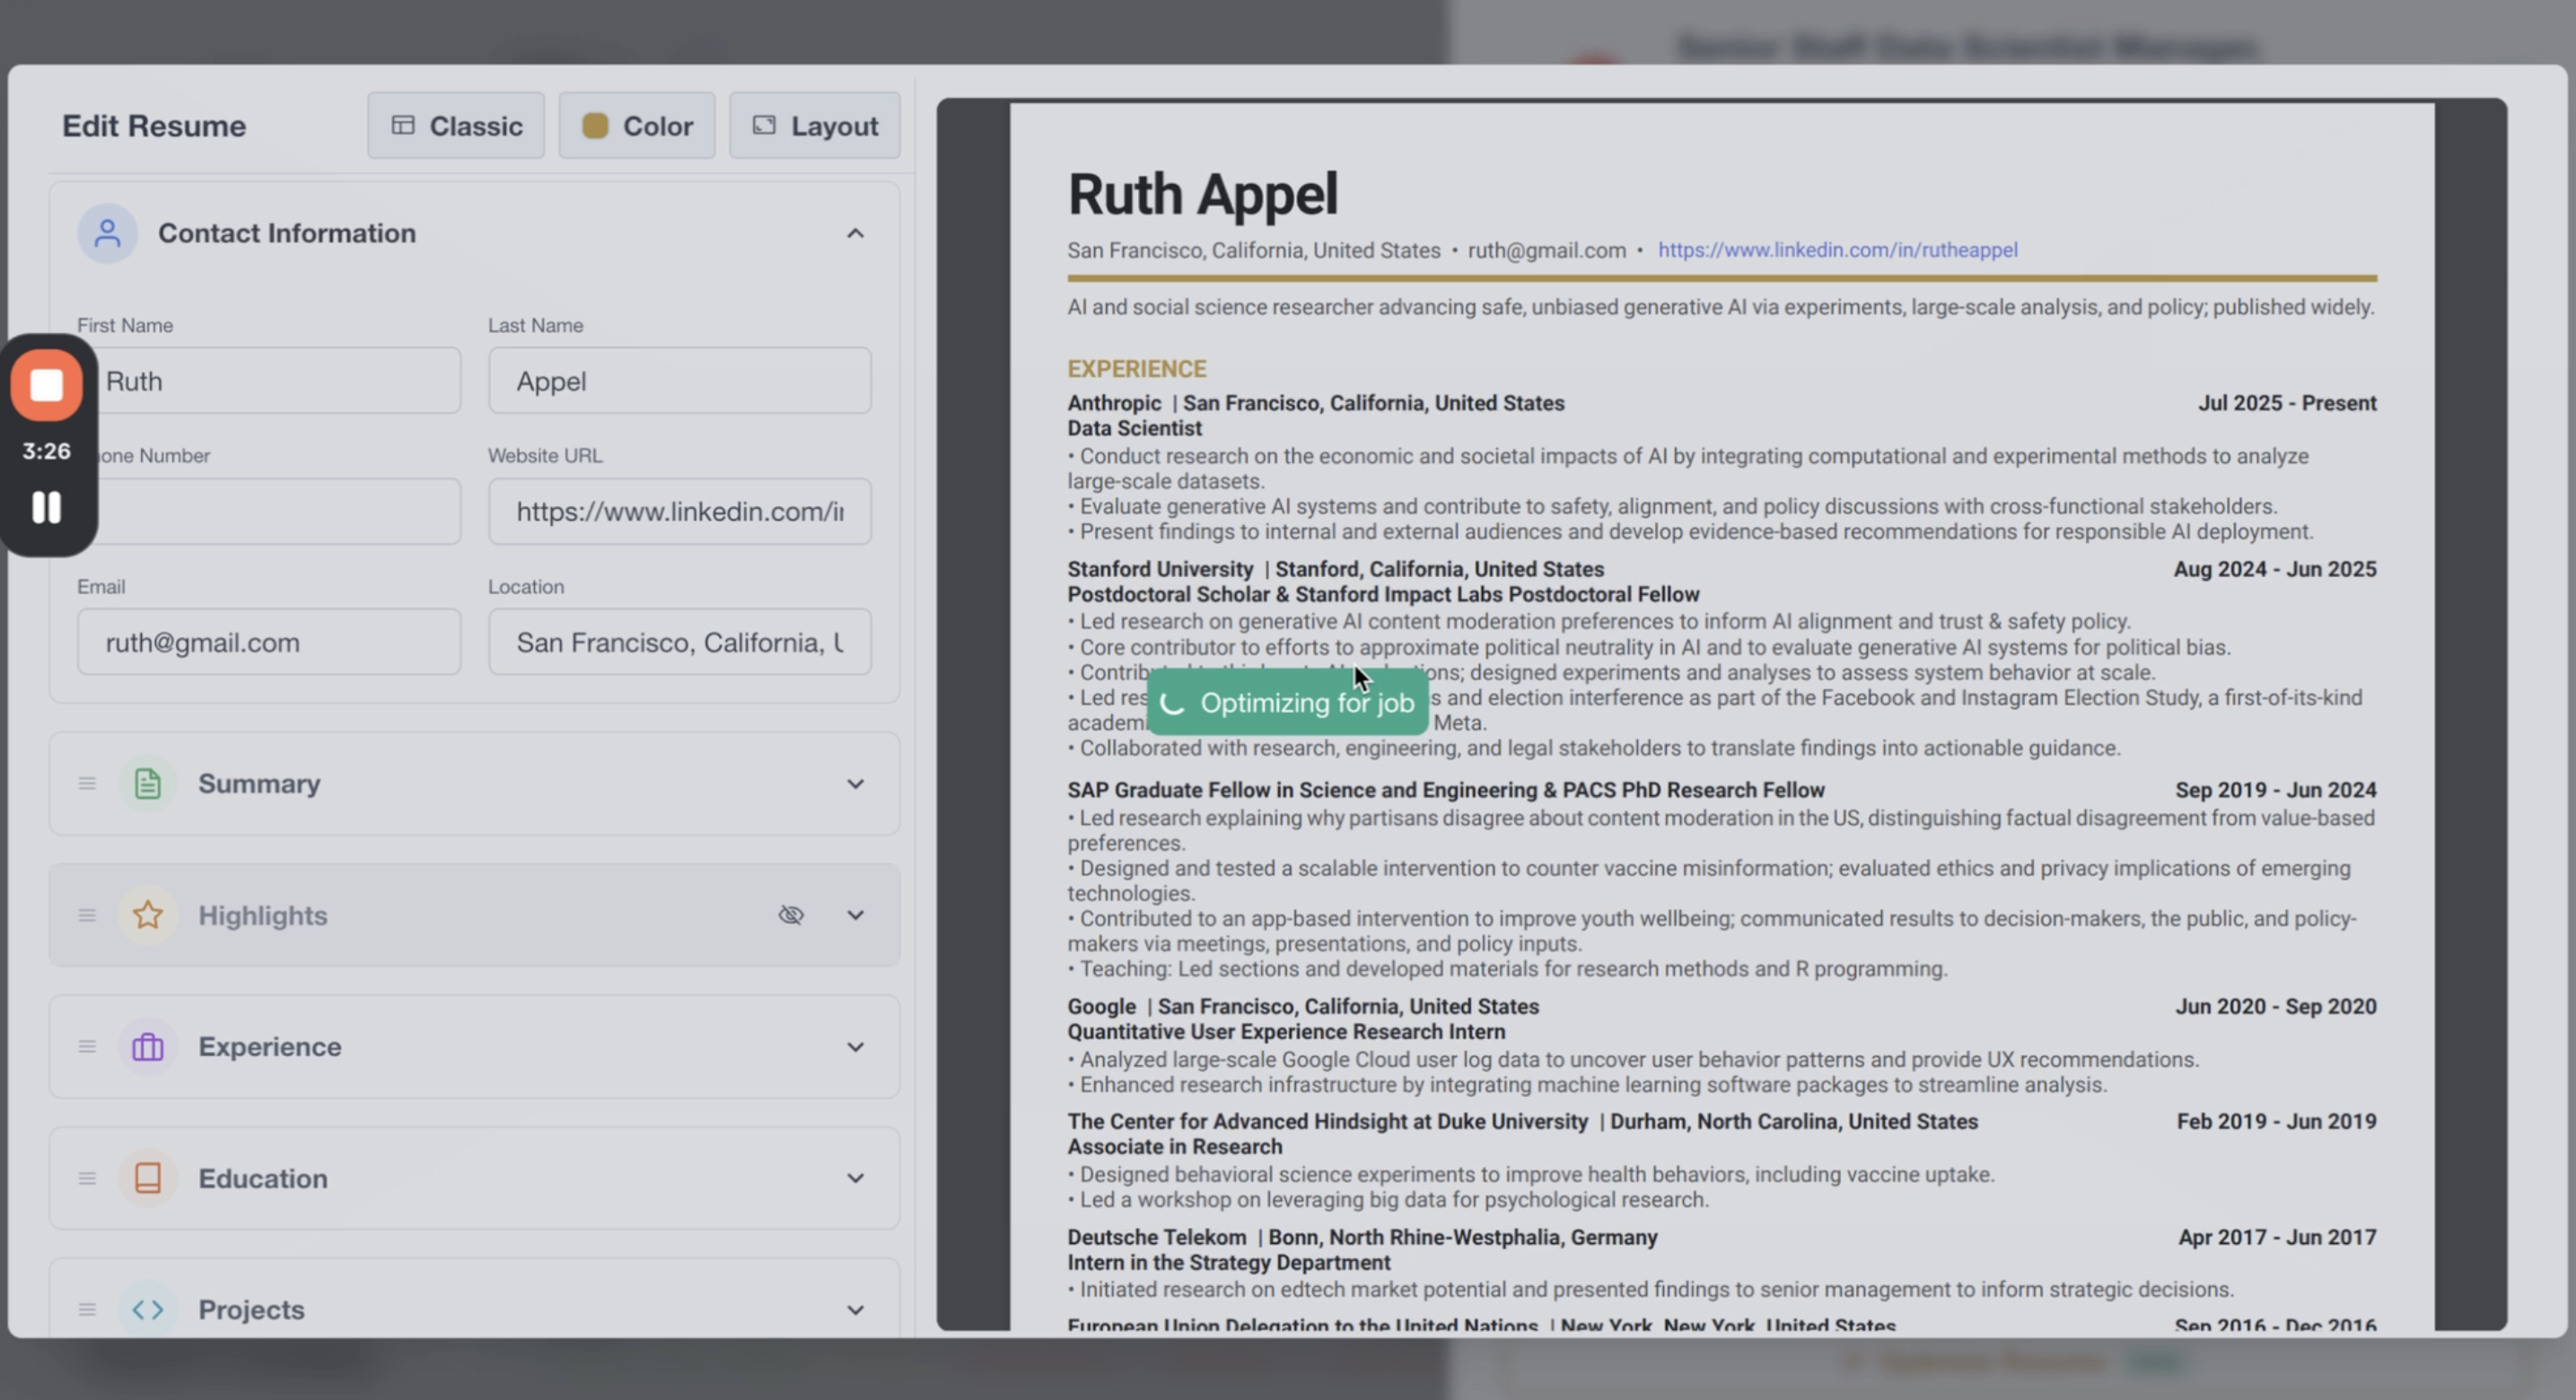
Job-specific optimization highlights the most relevant skills, experience, and keywords for that particular role, making your client stand out to recruiters and ATS systems.
Video Walkthrough
Watch the complete video demonstration of the Resume Builder and Resume Optimizer: