
Managing Your Team
Add virtual assistants, contractors, or coaching partners to your Shapeshifter organization and assign the right access levels. Team member management helps you scale your practice while controlling who can view and edit client data.
Only users with Owner or Admin roles can add and manage team members.
Access Team Management
Navigate to your Profile page by clicking Profile in the left sidebar. Scroll down to the Organization section where you'll see the Members list showing all current team members and their roles.
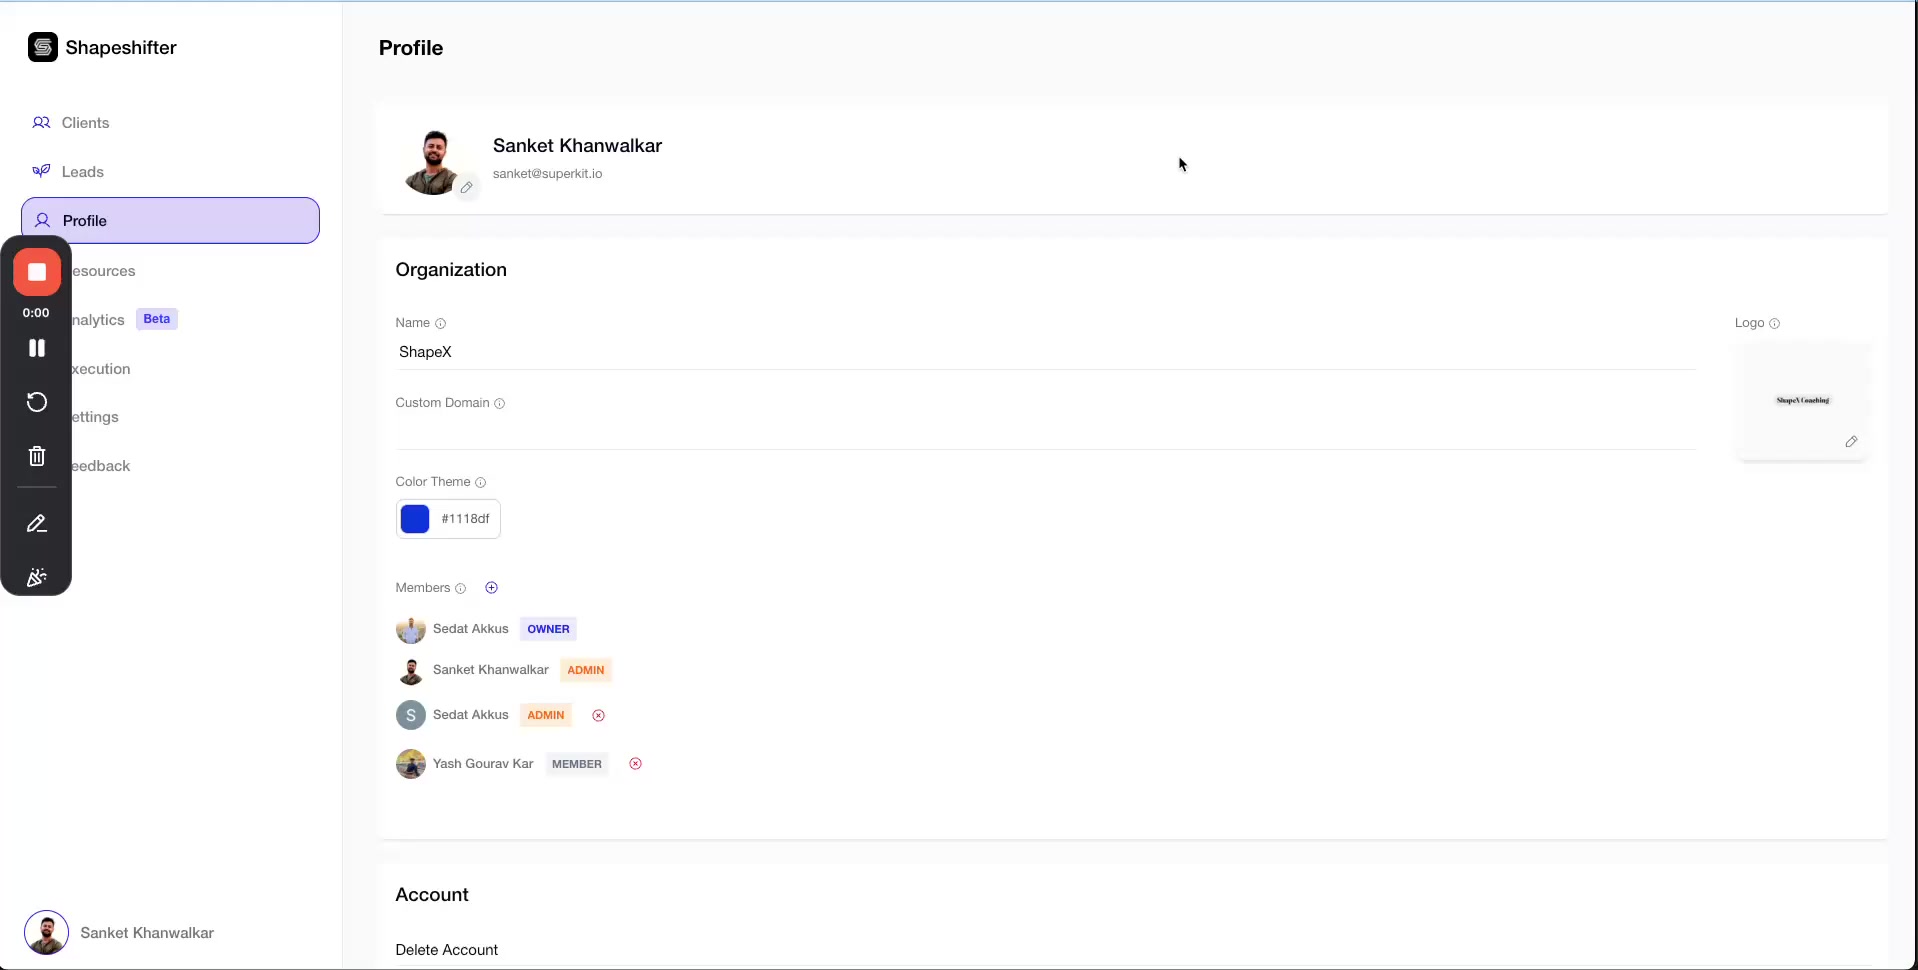
Understanding Member Roles
Shapeshifter has three role levels that determine what team members can access:
Owner — Full access to all features, billing, and organization settings. Can add/remove any member including admins.
Admin — Can manage clients, view analytics, and add/remove members. Cannot change billing or delete the organization.
Member — Can access only the assigned clients. Cannot change settings or add other team members.
Assign the Member role to VAs who help with client outreach or data entry but shouldn't access sensitive settings.
Add a New Team Member
Invite team members by email — they'll receive an invitation to join your organization.
In the Members section of your Organization settings, click the + (plus) button to add a new member
Enter the team member's email address in the field that appears
Select their role from the dropdown: Admin or Member
Click Send Invite or the confirmation button
The new team member will receive an email invitation. Once they accept and create their account, they'll appear in your Members list.
Be careful when assigning Admin roles, admins can remove other admins and have full billing access.
Change Member Roles
You can update a team member's permissions at any time by changing their role.
Locate the member in the Members list
Click the dropdown next to their name showing their current role
Select the new role: Admin or Member
Click Update to save changes
Role changes take effect immediately — the team member's access will update the next time they log in.
Remove a Team Member
When a VA, contractor, or partner leaves your organization, you can revoke their access.
Find the member in the Members list
Click the × (remove) icon next to their name
Confirm the removal in the dialog that appears
Removed members lose access immediately and can no longer view any client data or organization settings.
View Current Team Members
The Members section displays all active team members with their:
Full name
Email address
Assigned role (Owner, Admin, or Member)
Quick actions to edit role or remove access
Regularly review your Members list to ensure only active team members have access to your coaching platform.
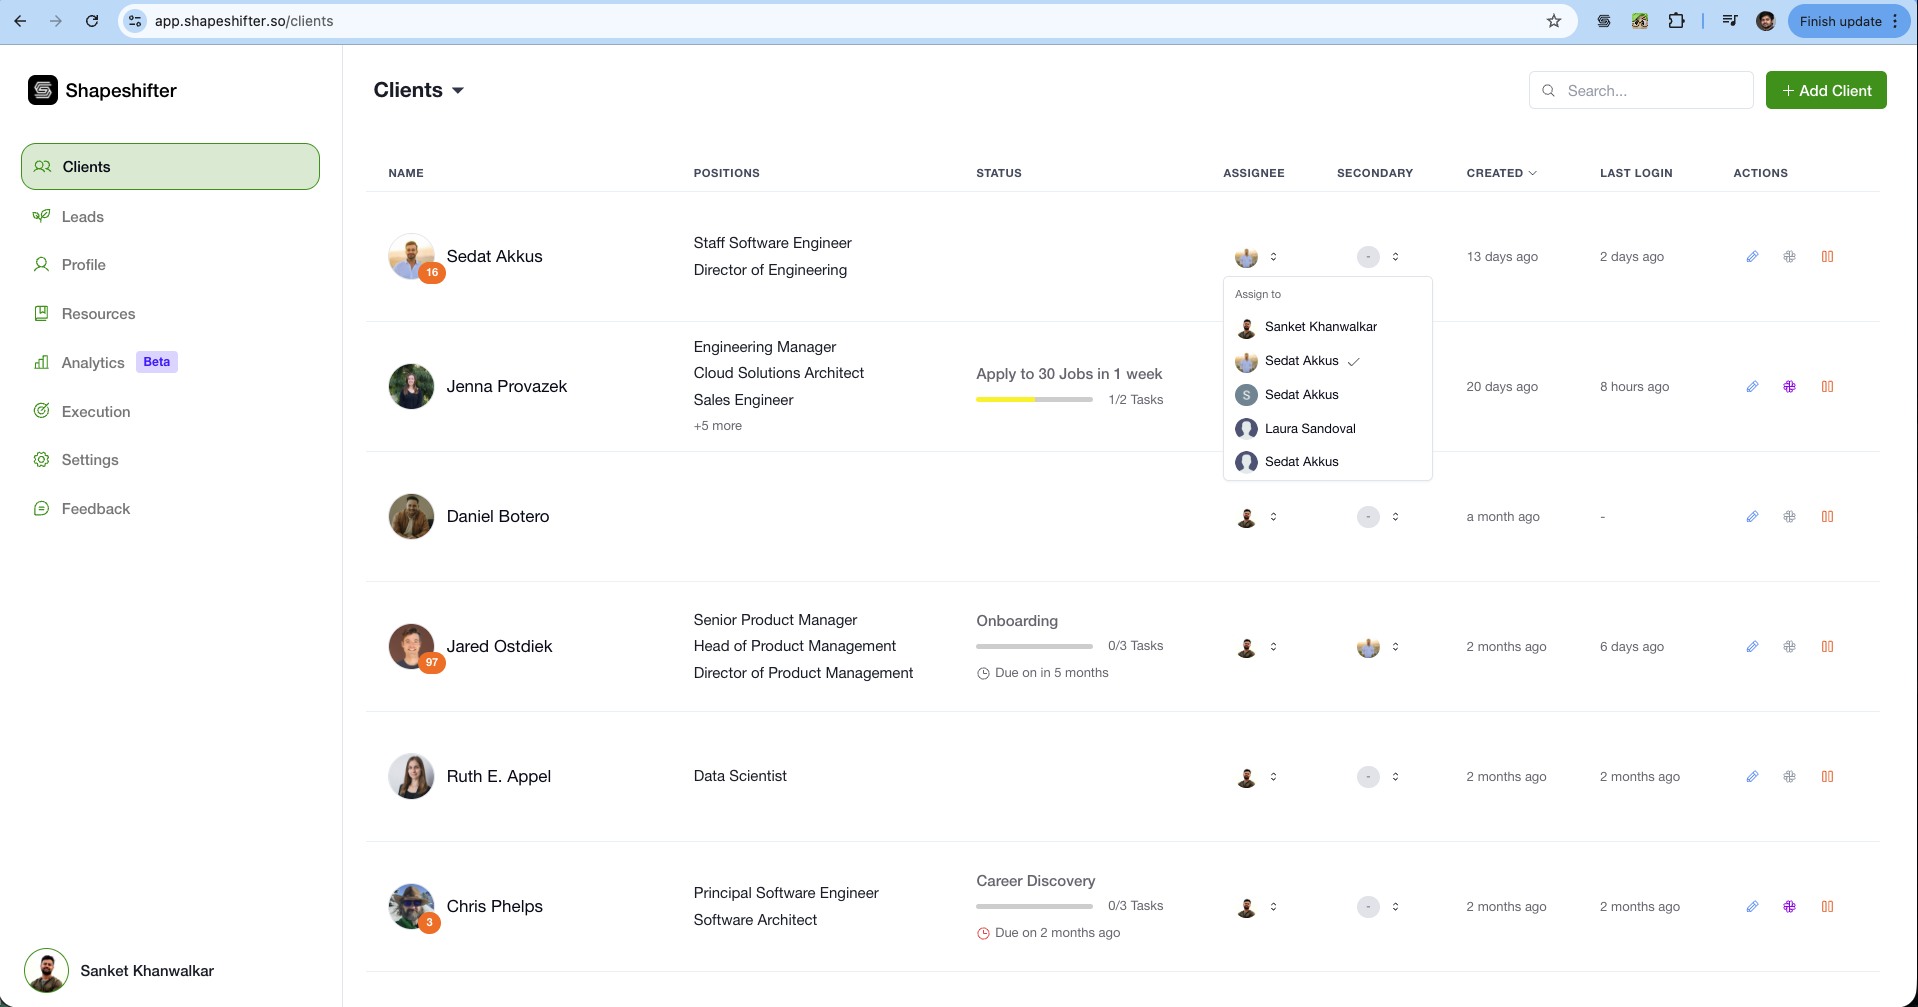
How to Assign Clients to Members
While Owner and Admin access all the clients added to the platform, Members can only access the clients that are assigned to them.
In order to give Members access to any client:
Go to the Clients list
Go to Assignee or Secondary column
Select member name
Video Walkthrough
For a complete visual walkthrough of team member management and other organization settings, watch this video: